


Gift Guide: Wedding Save-The-Date (Part 2)
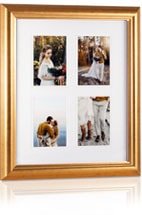
In part one, I walked through the process of framing save-the-dates with an accent background paper. In this guide, we'll put together a save-the-date in a floating-mat style. This style works for invites and save-the-dates that don't have a border or have a uniquely cut or ornate edge. The process is super simple, and best of all, it's a thoughtful gift to the newlyweds that won't break the bank. A truly personal gift is the best kind, and shouldn't cost a fortune.
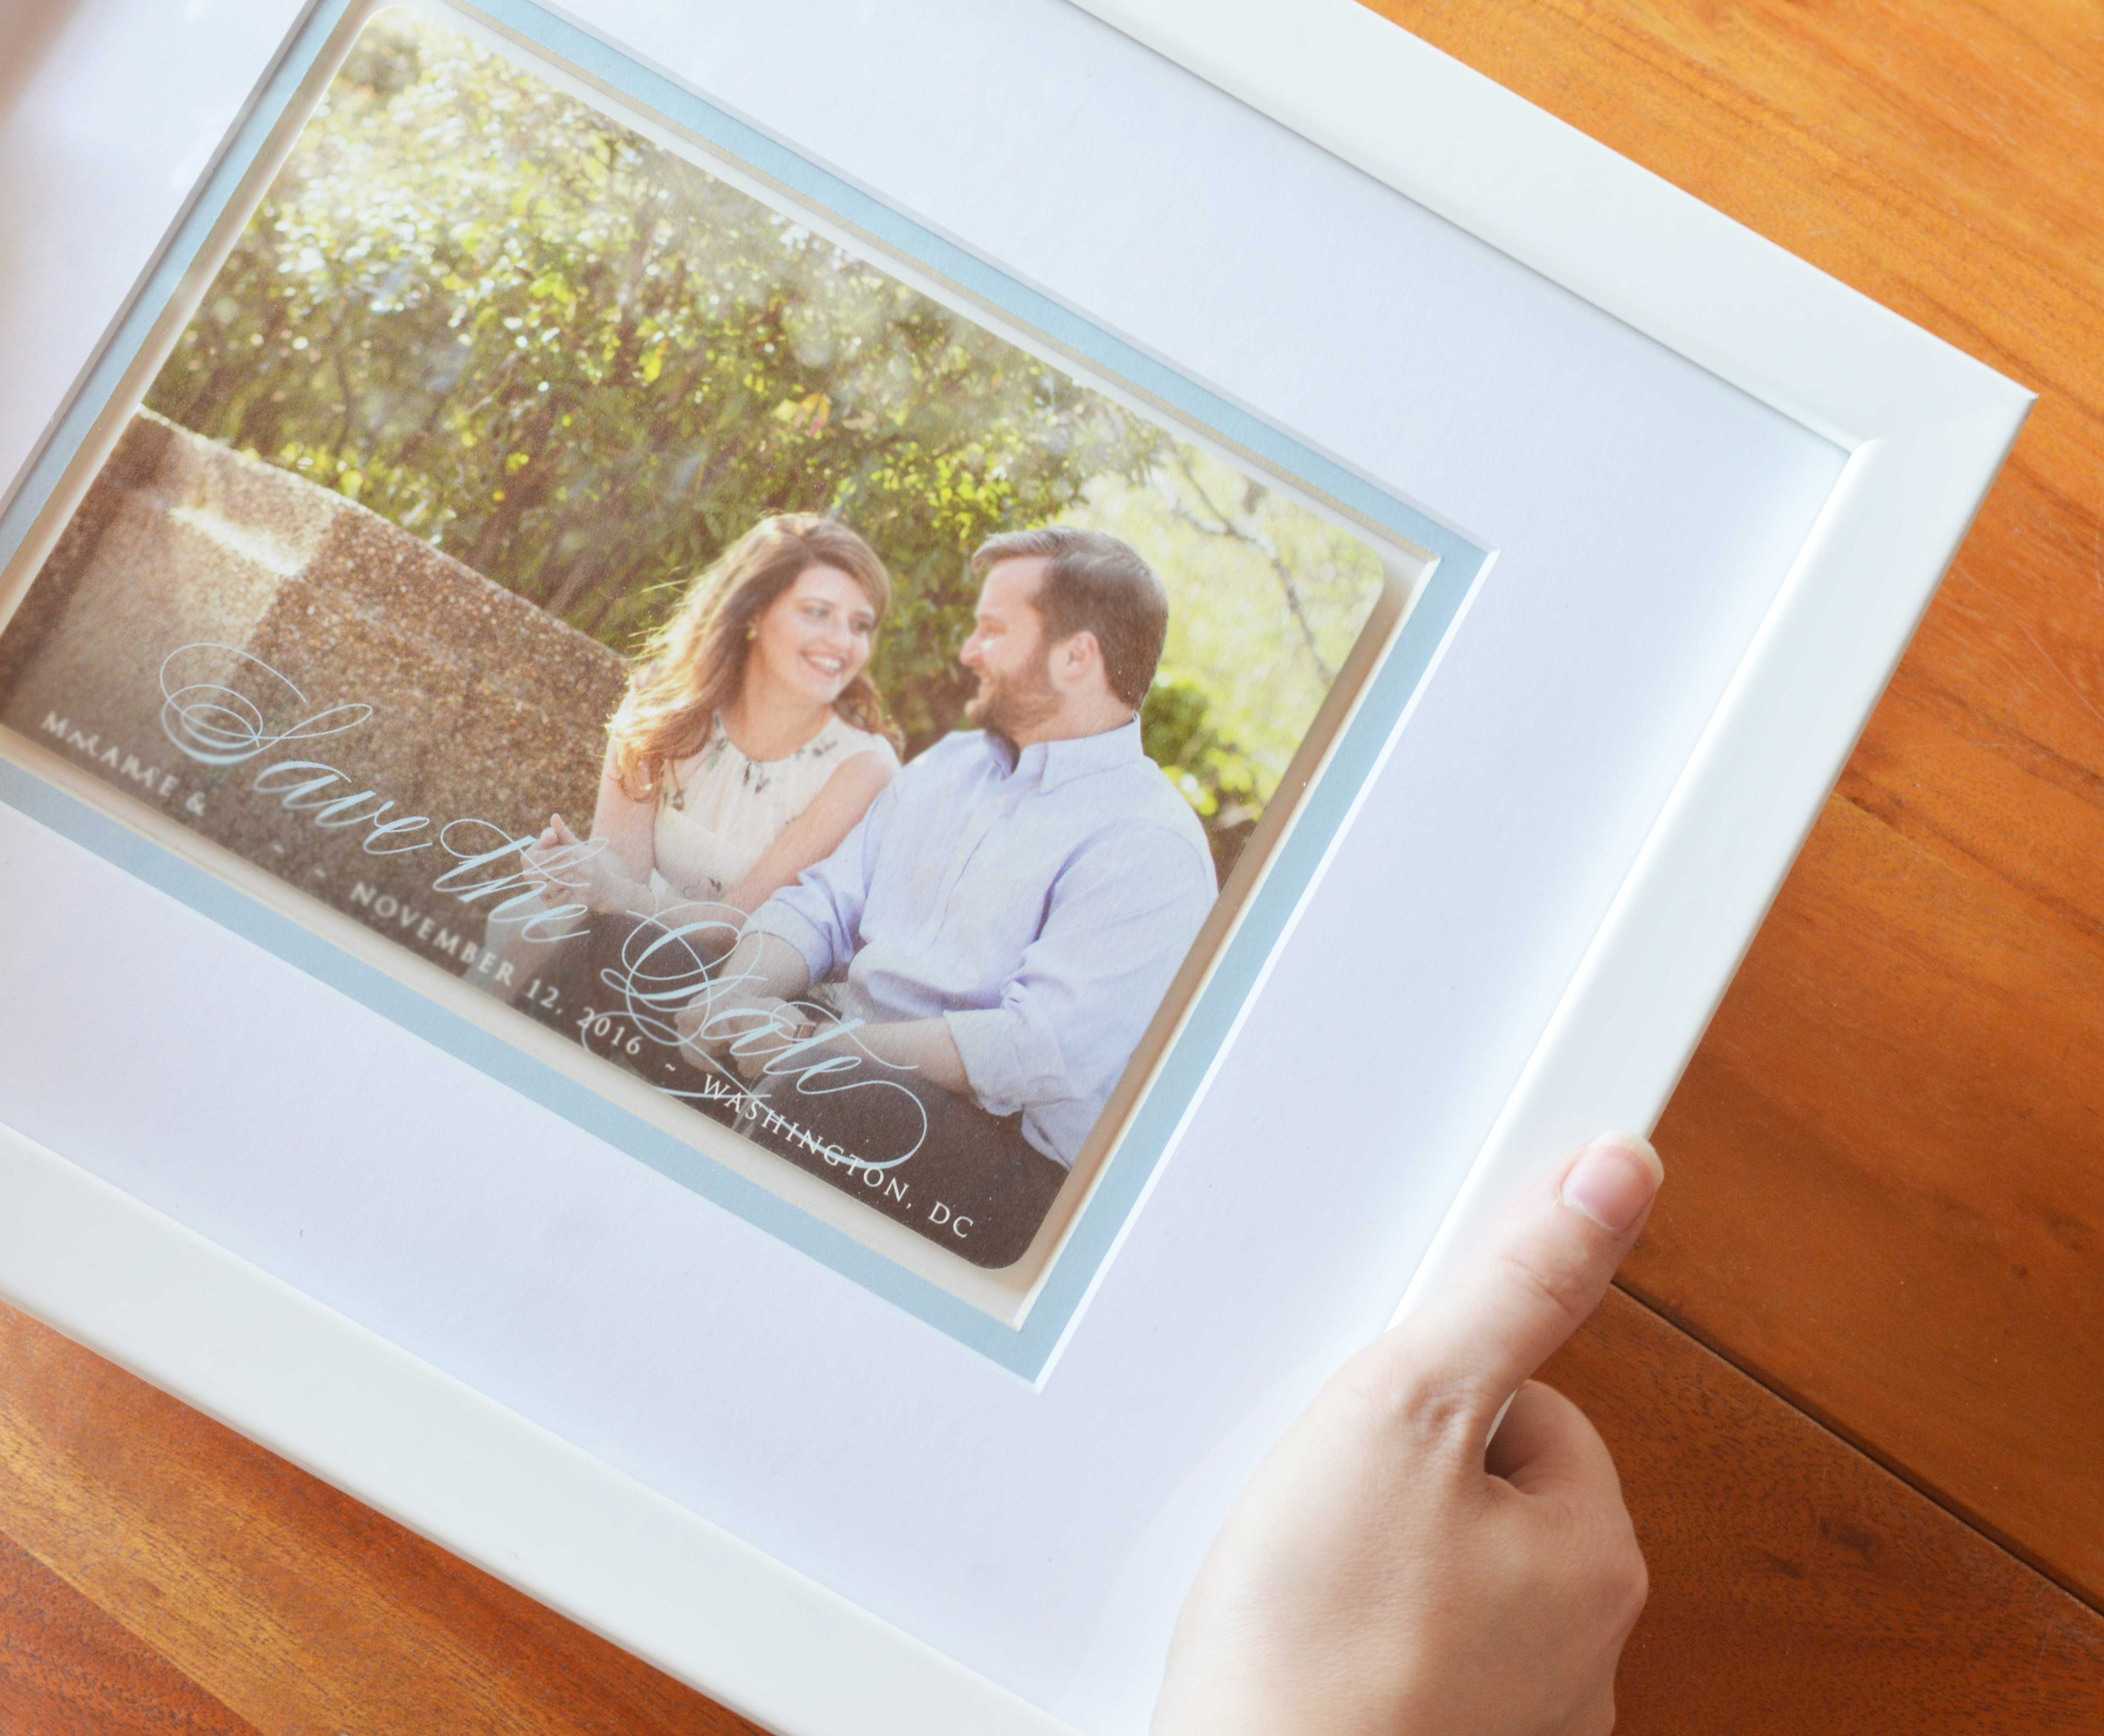
So, if you're ready to put together the sweetest gift for that friend/family member who just got married, grab your save-the-date, and let's get started!
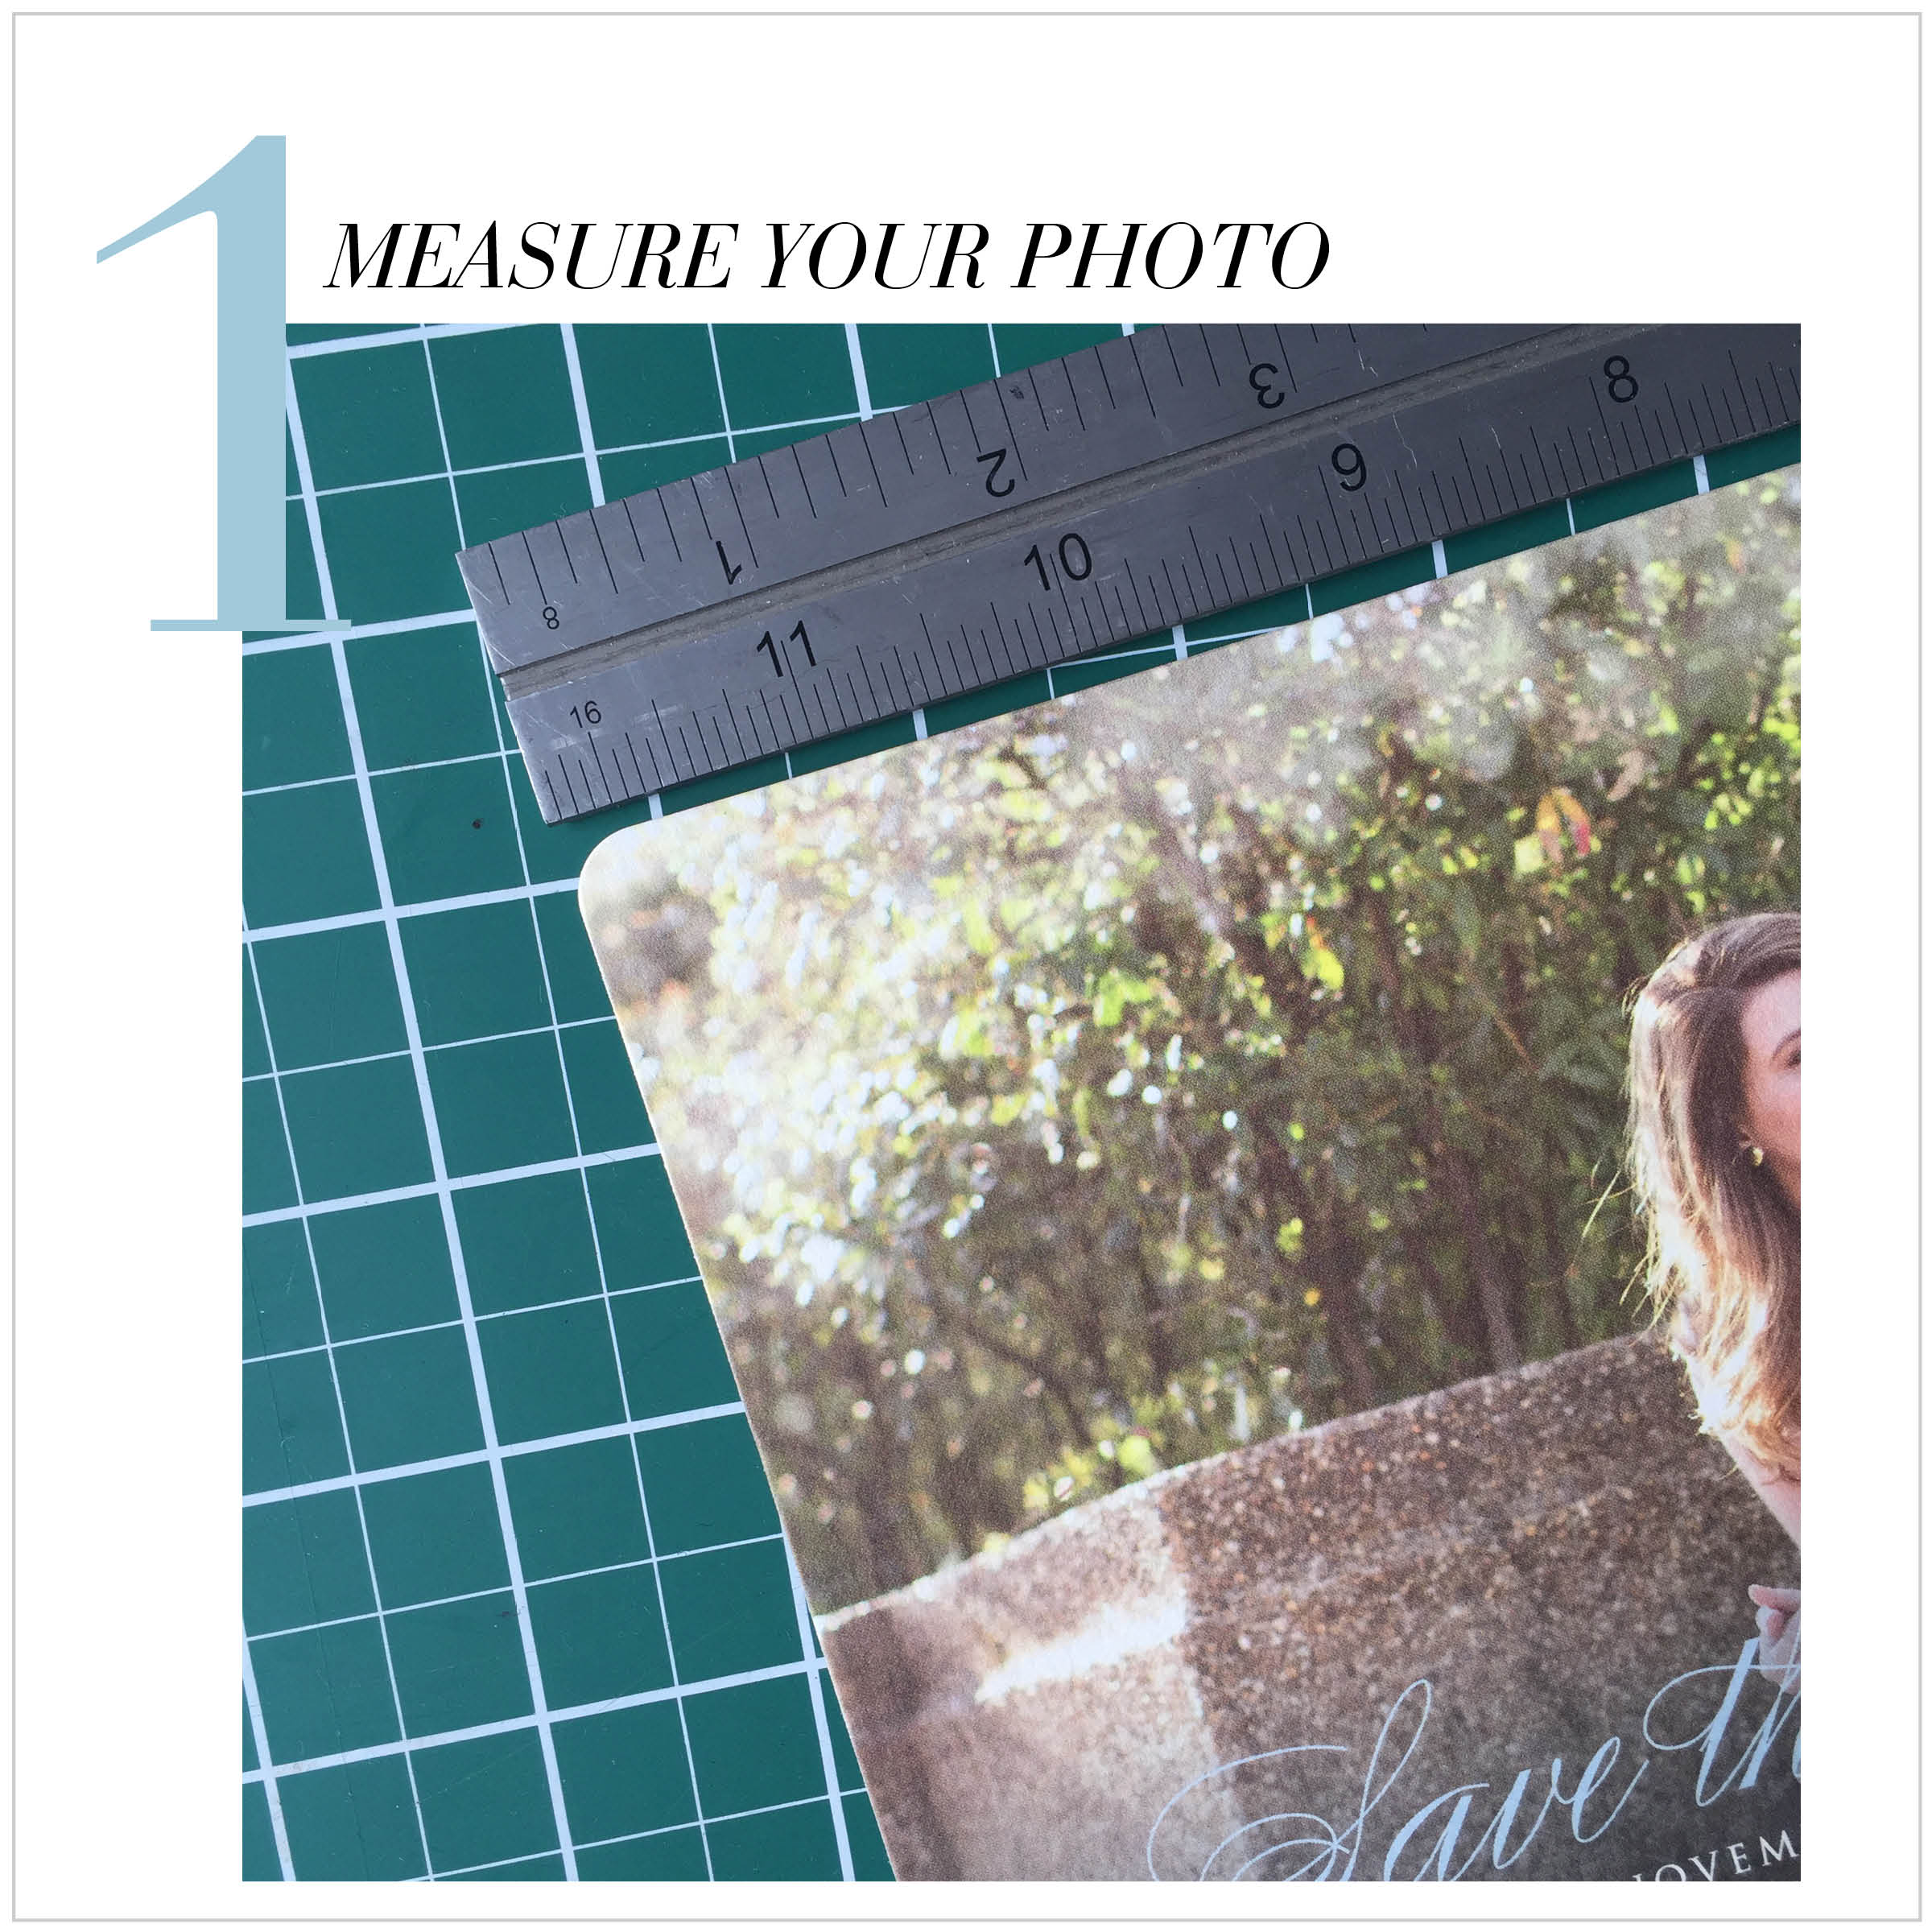
For a floating image, measure the length and width of each photo and add an equal distance from both depending on how much extra space you want around the edges. For this invite, I added a quarter inch to each side. This save-the-date measured 7 inches wide by 5 inches long. By adding the quarter-inch to each side, the total length and width came to 7.5 inches by 5.5 inches. This is the measurement I inserted into the opening size option on the site to ensure the mat would leave room on each side and wouldn't lay over the picture edges.
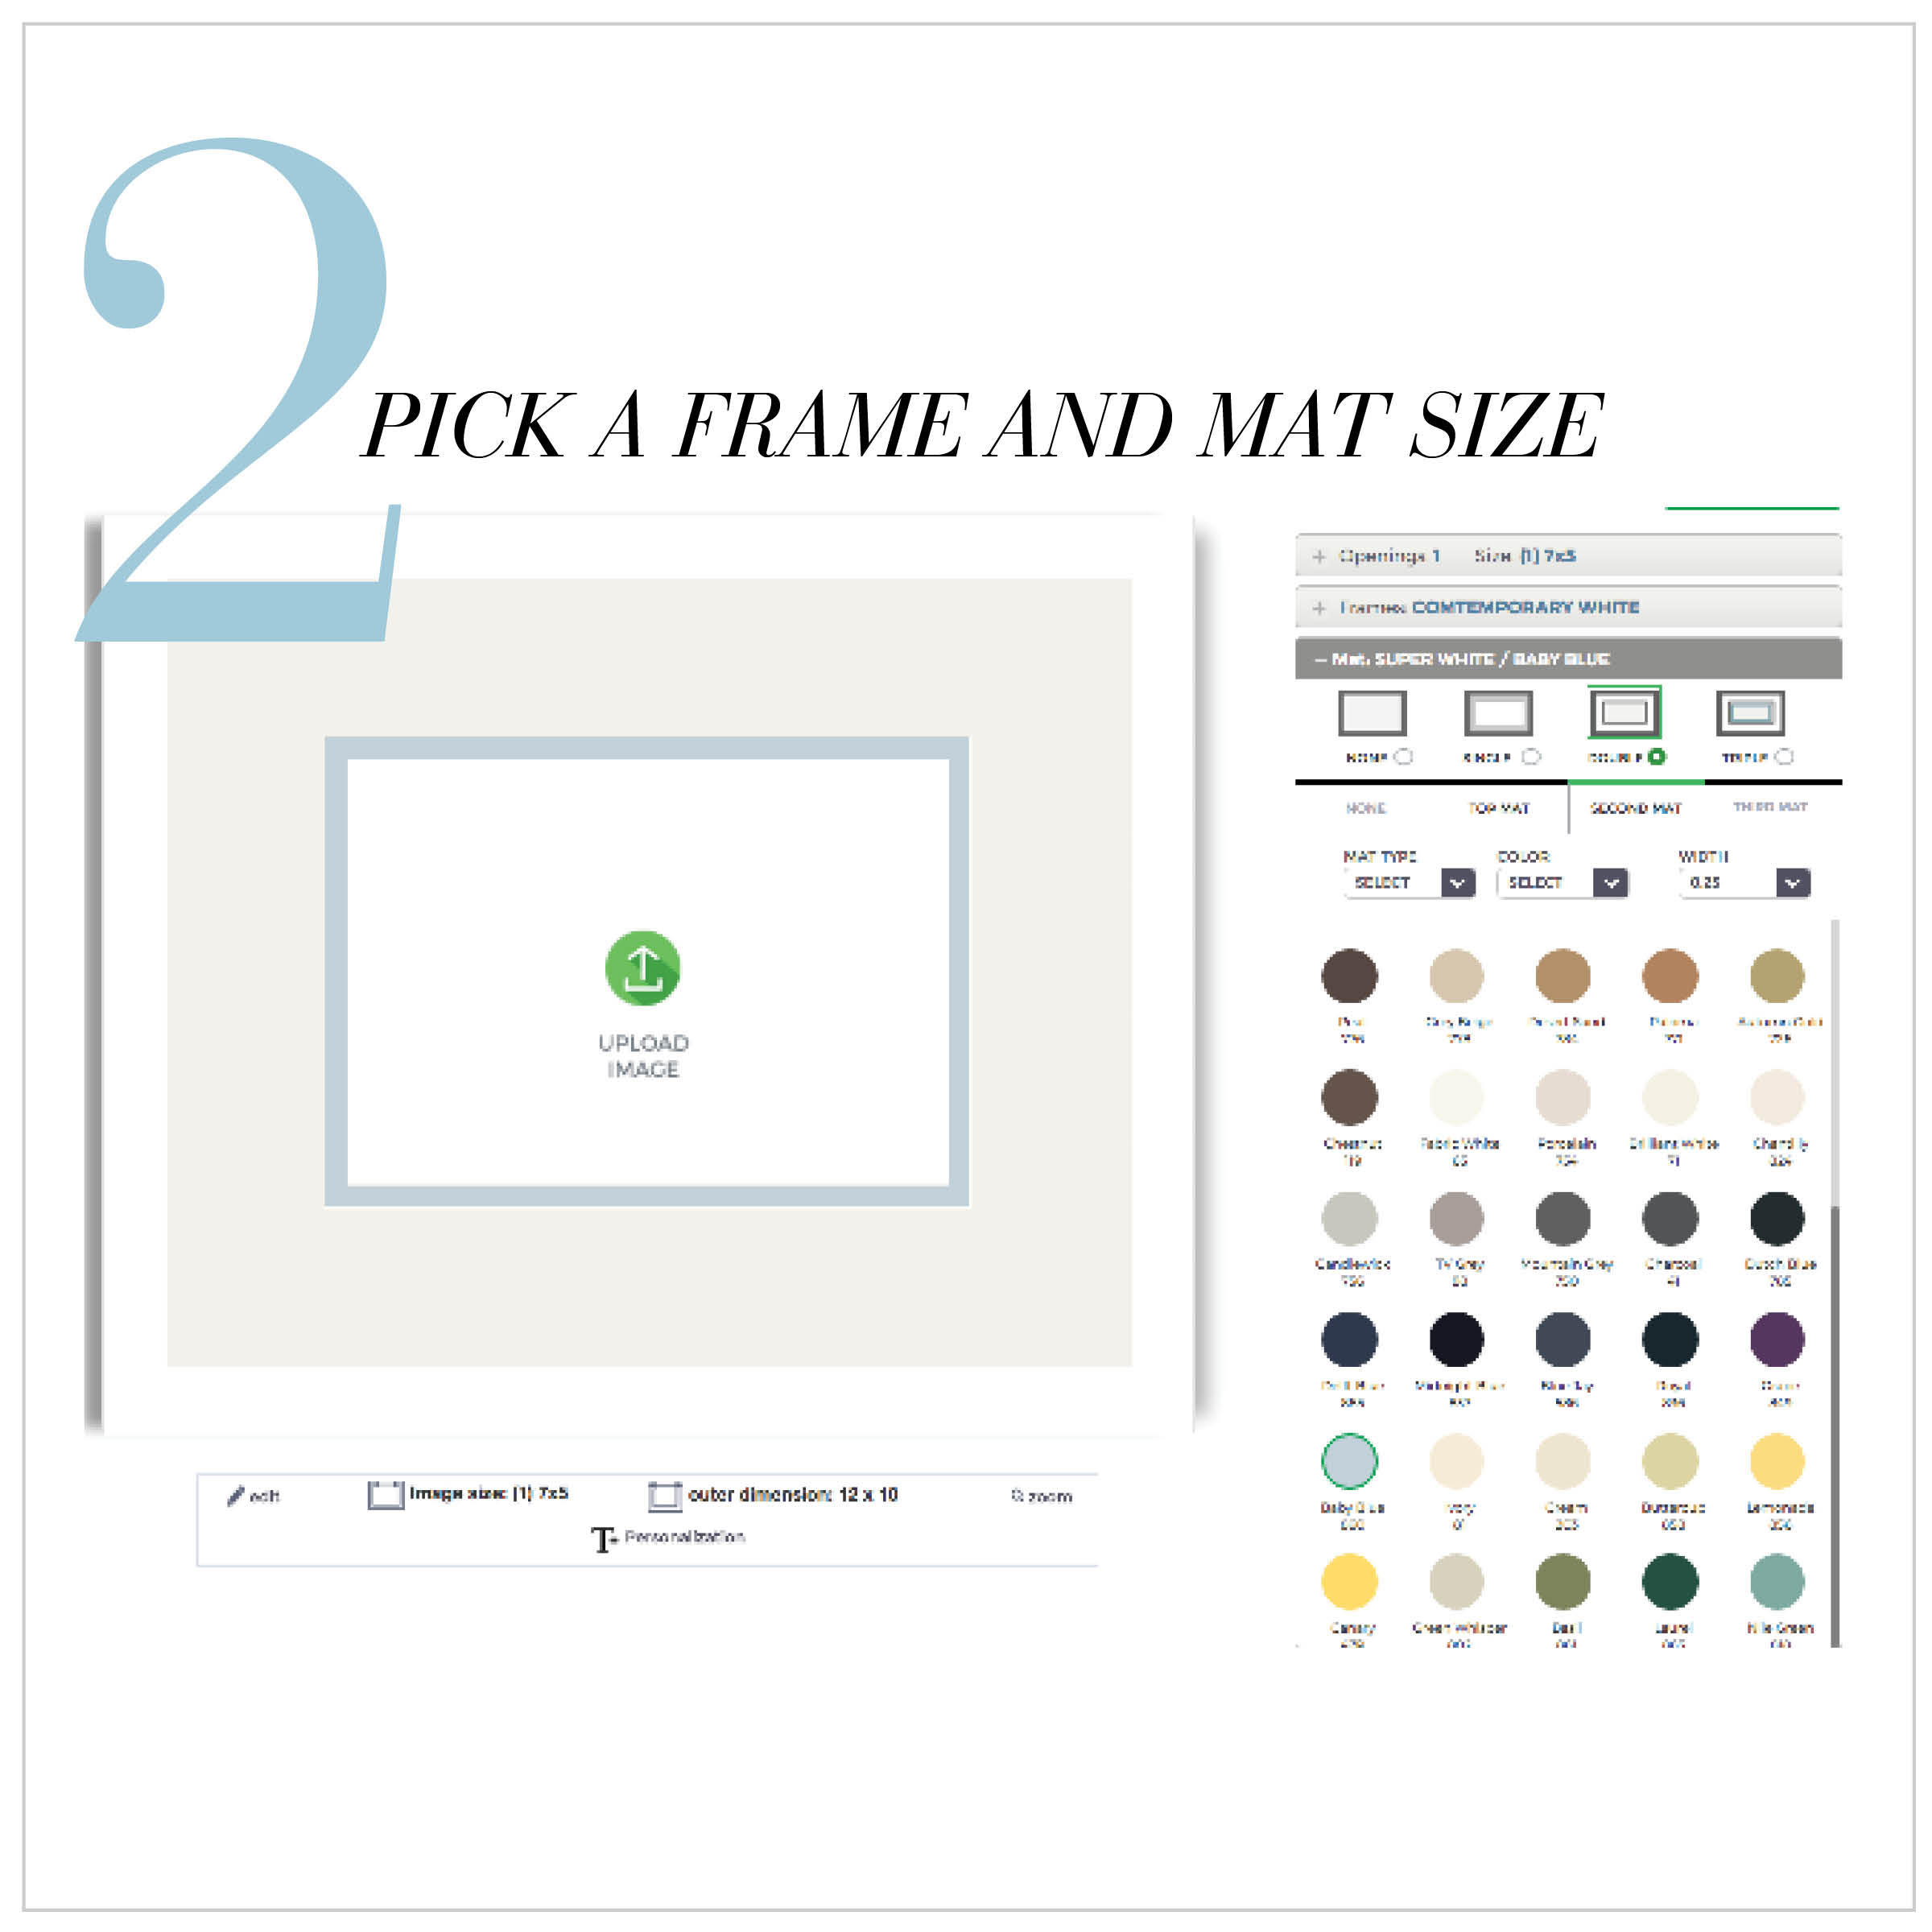
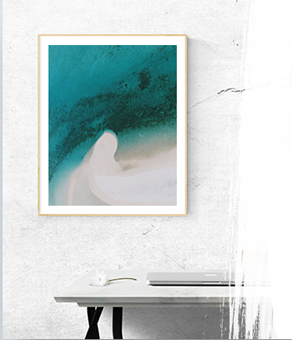
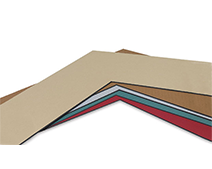
For a floating image, the opening size should measure the total image size plus the desired outside area. For my project, I added a quarter inch to each size. The Opening Size for my project came to 7.5 x 5.5 (.25" inches added to each side) For this invite I chose a Super White Top Mat with a Blue Double Mat with a Contemporary White Frame. I chose the baby blue mat to match the text on the invite and a white frame to allow the colored mat and text to pop.
Want to recreate this look? Shop the Contemporary White Frame here!
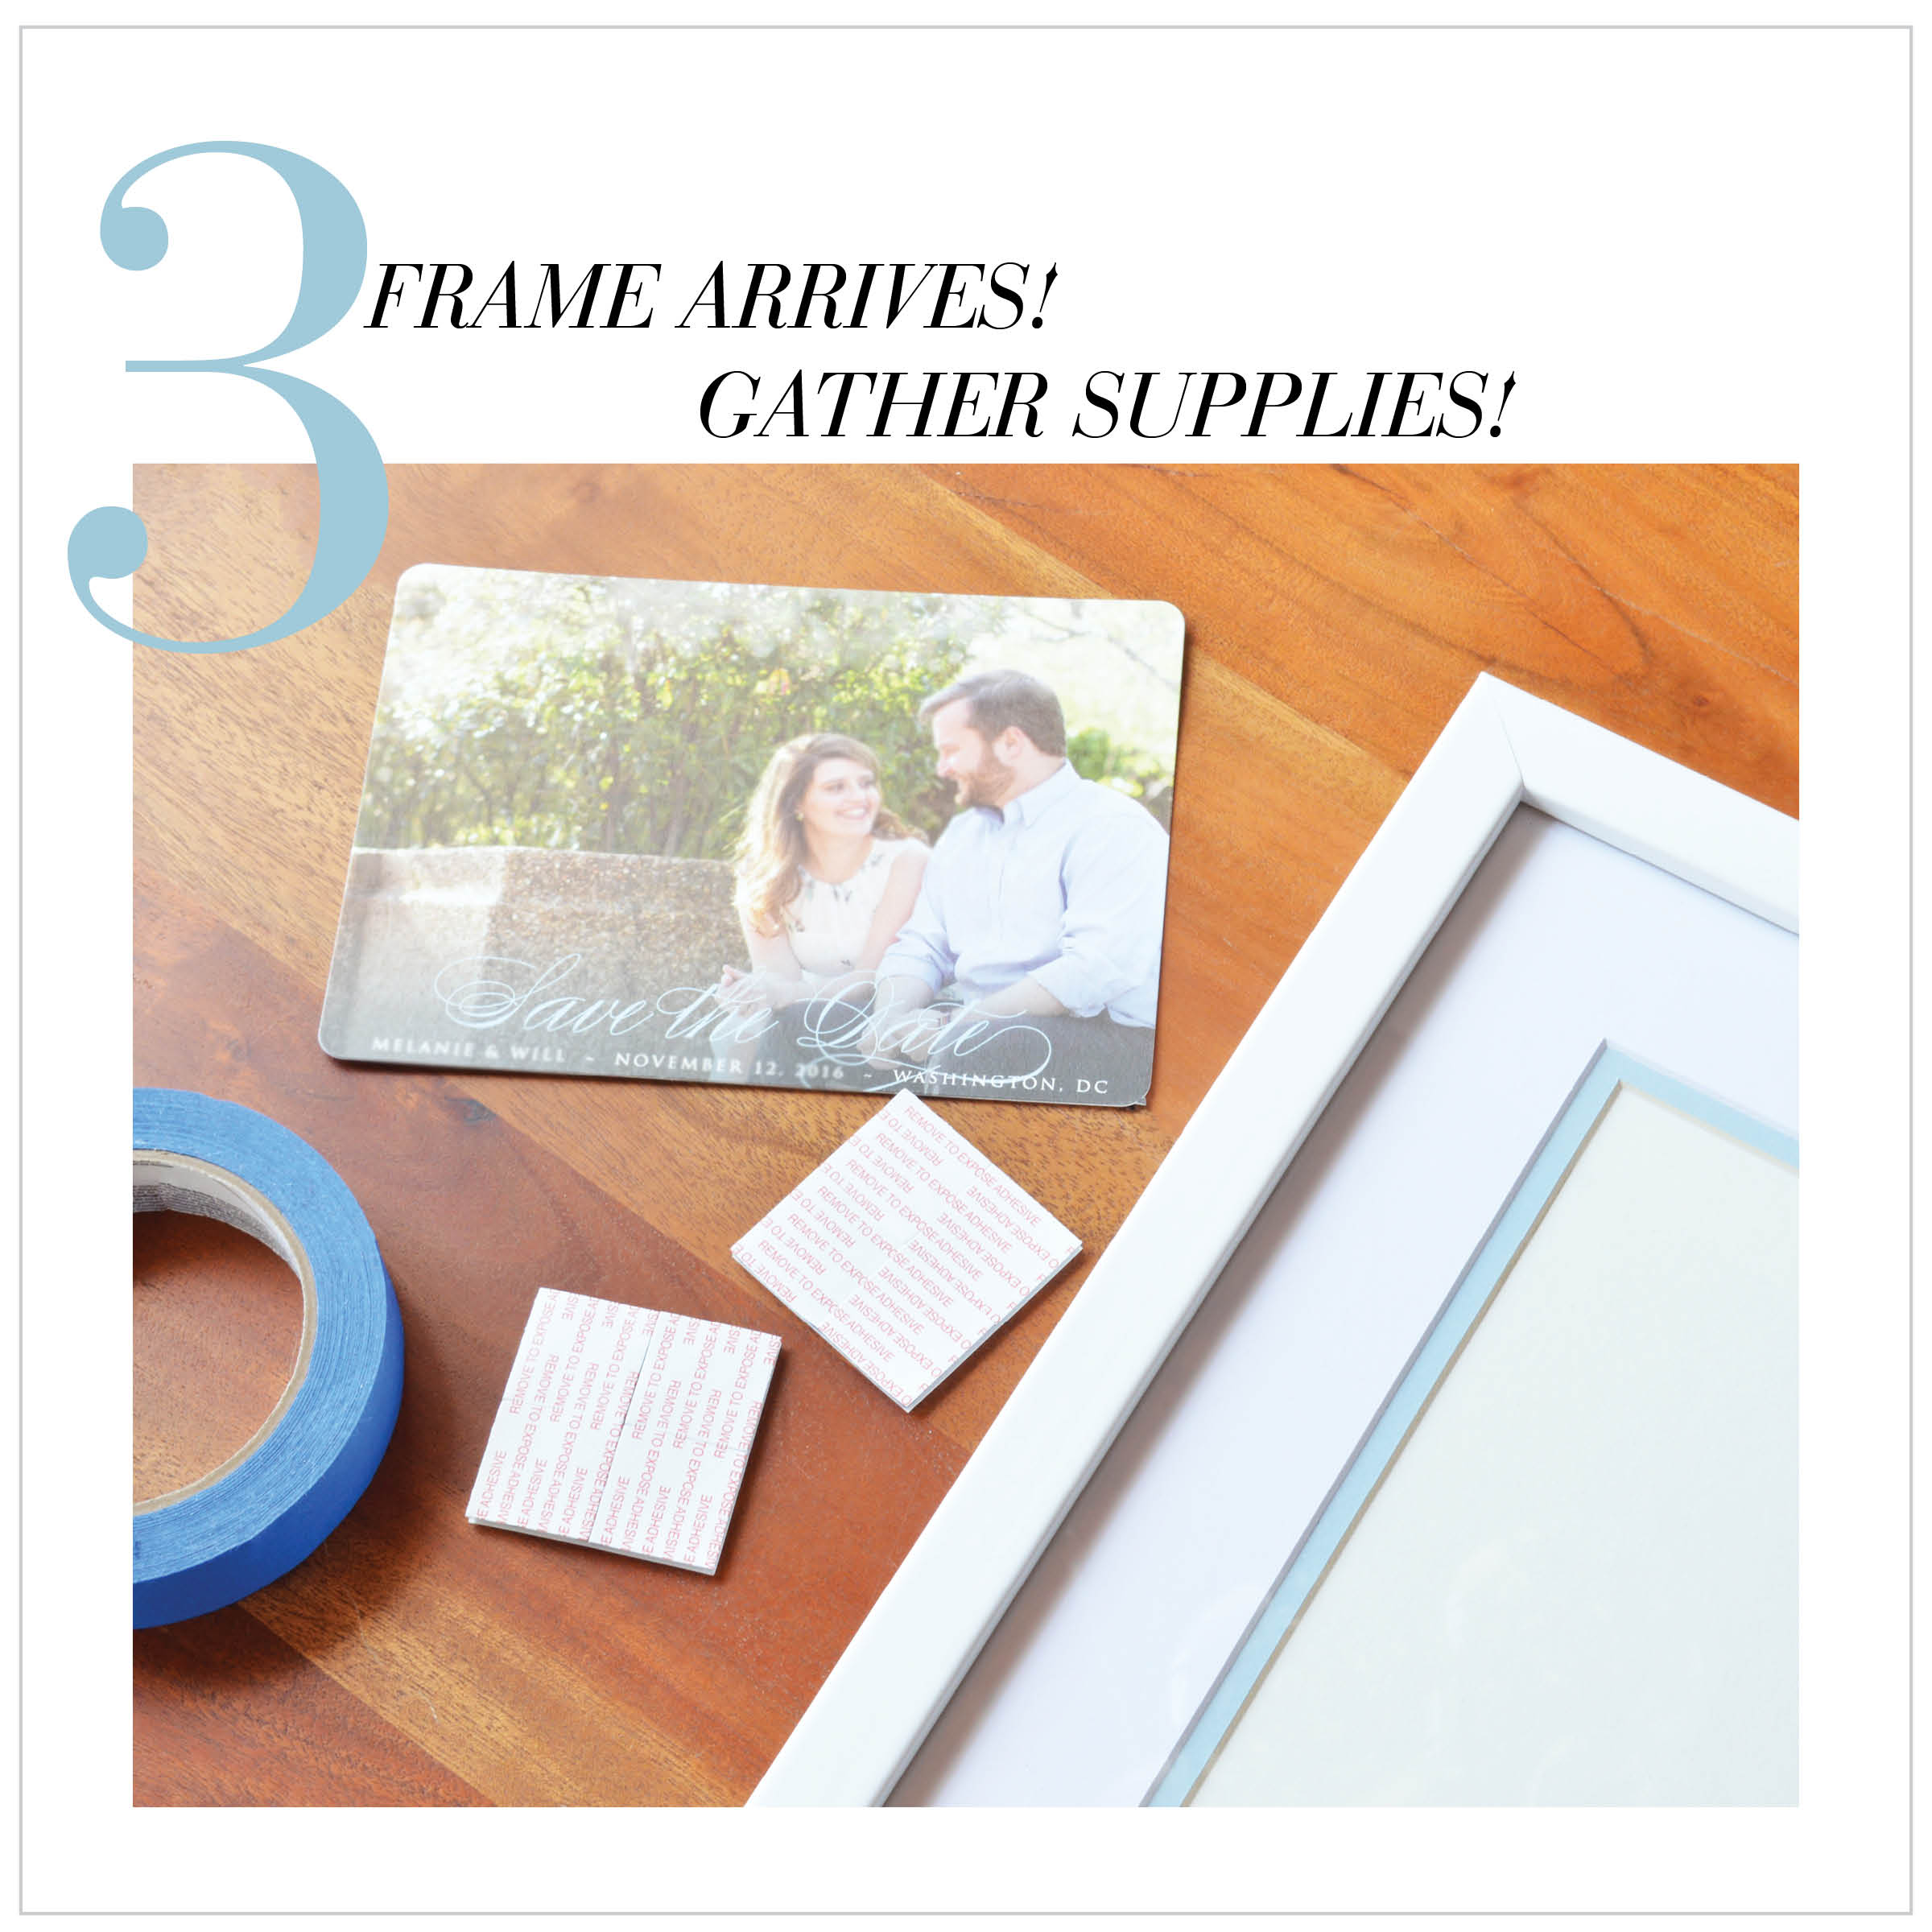
When your frame arrives, remove the backing and gather supplies. For a floating frame, you'll need the frame, mat, backing, photo, and adhesive (for my project, I ordered mounting dots to give the photo an extra boost off the background, though regular tape or double-sided tape will suit the project, as well).
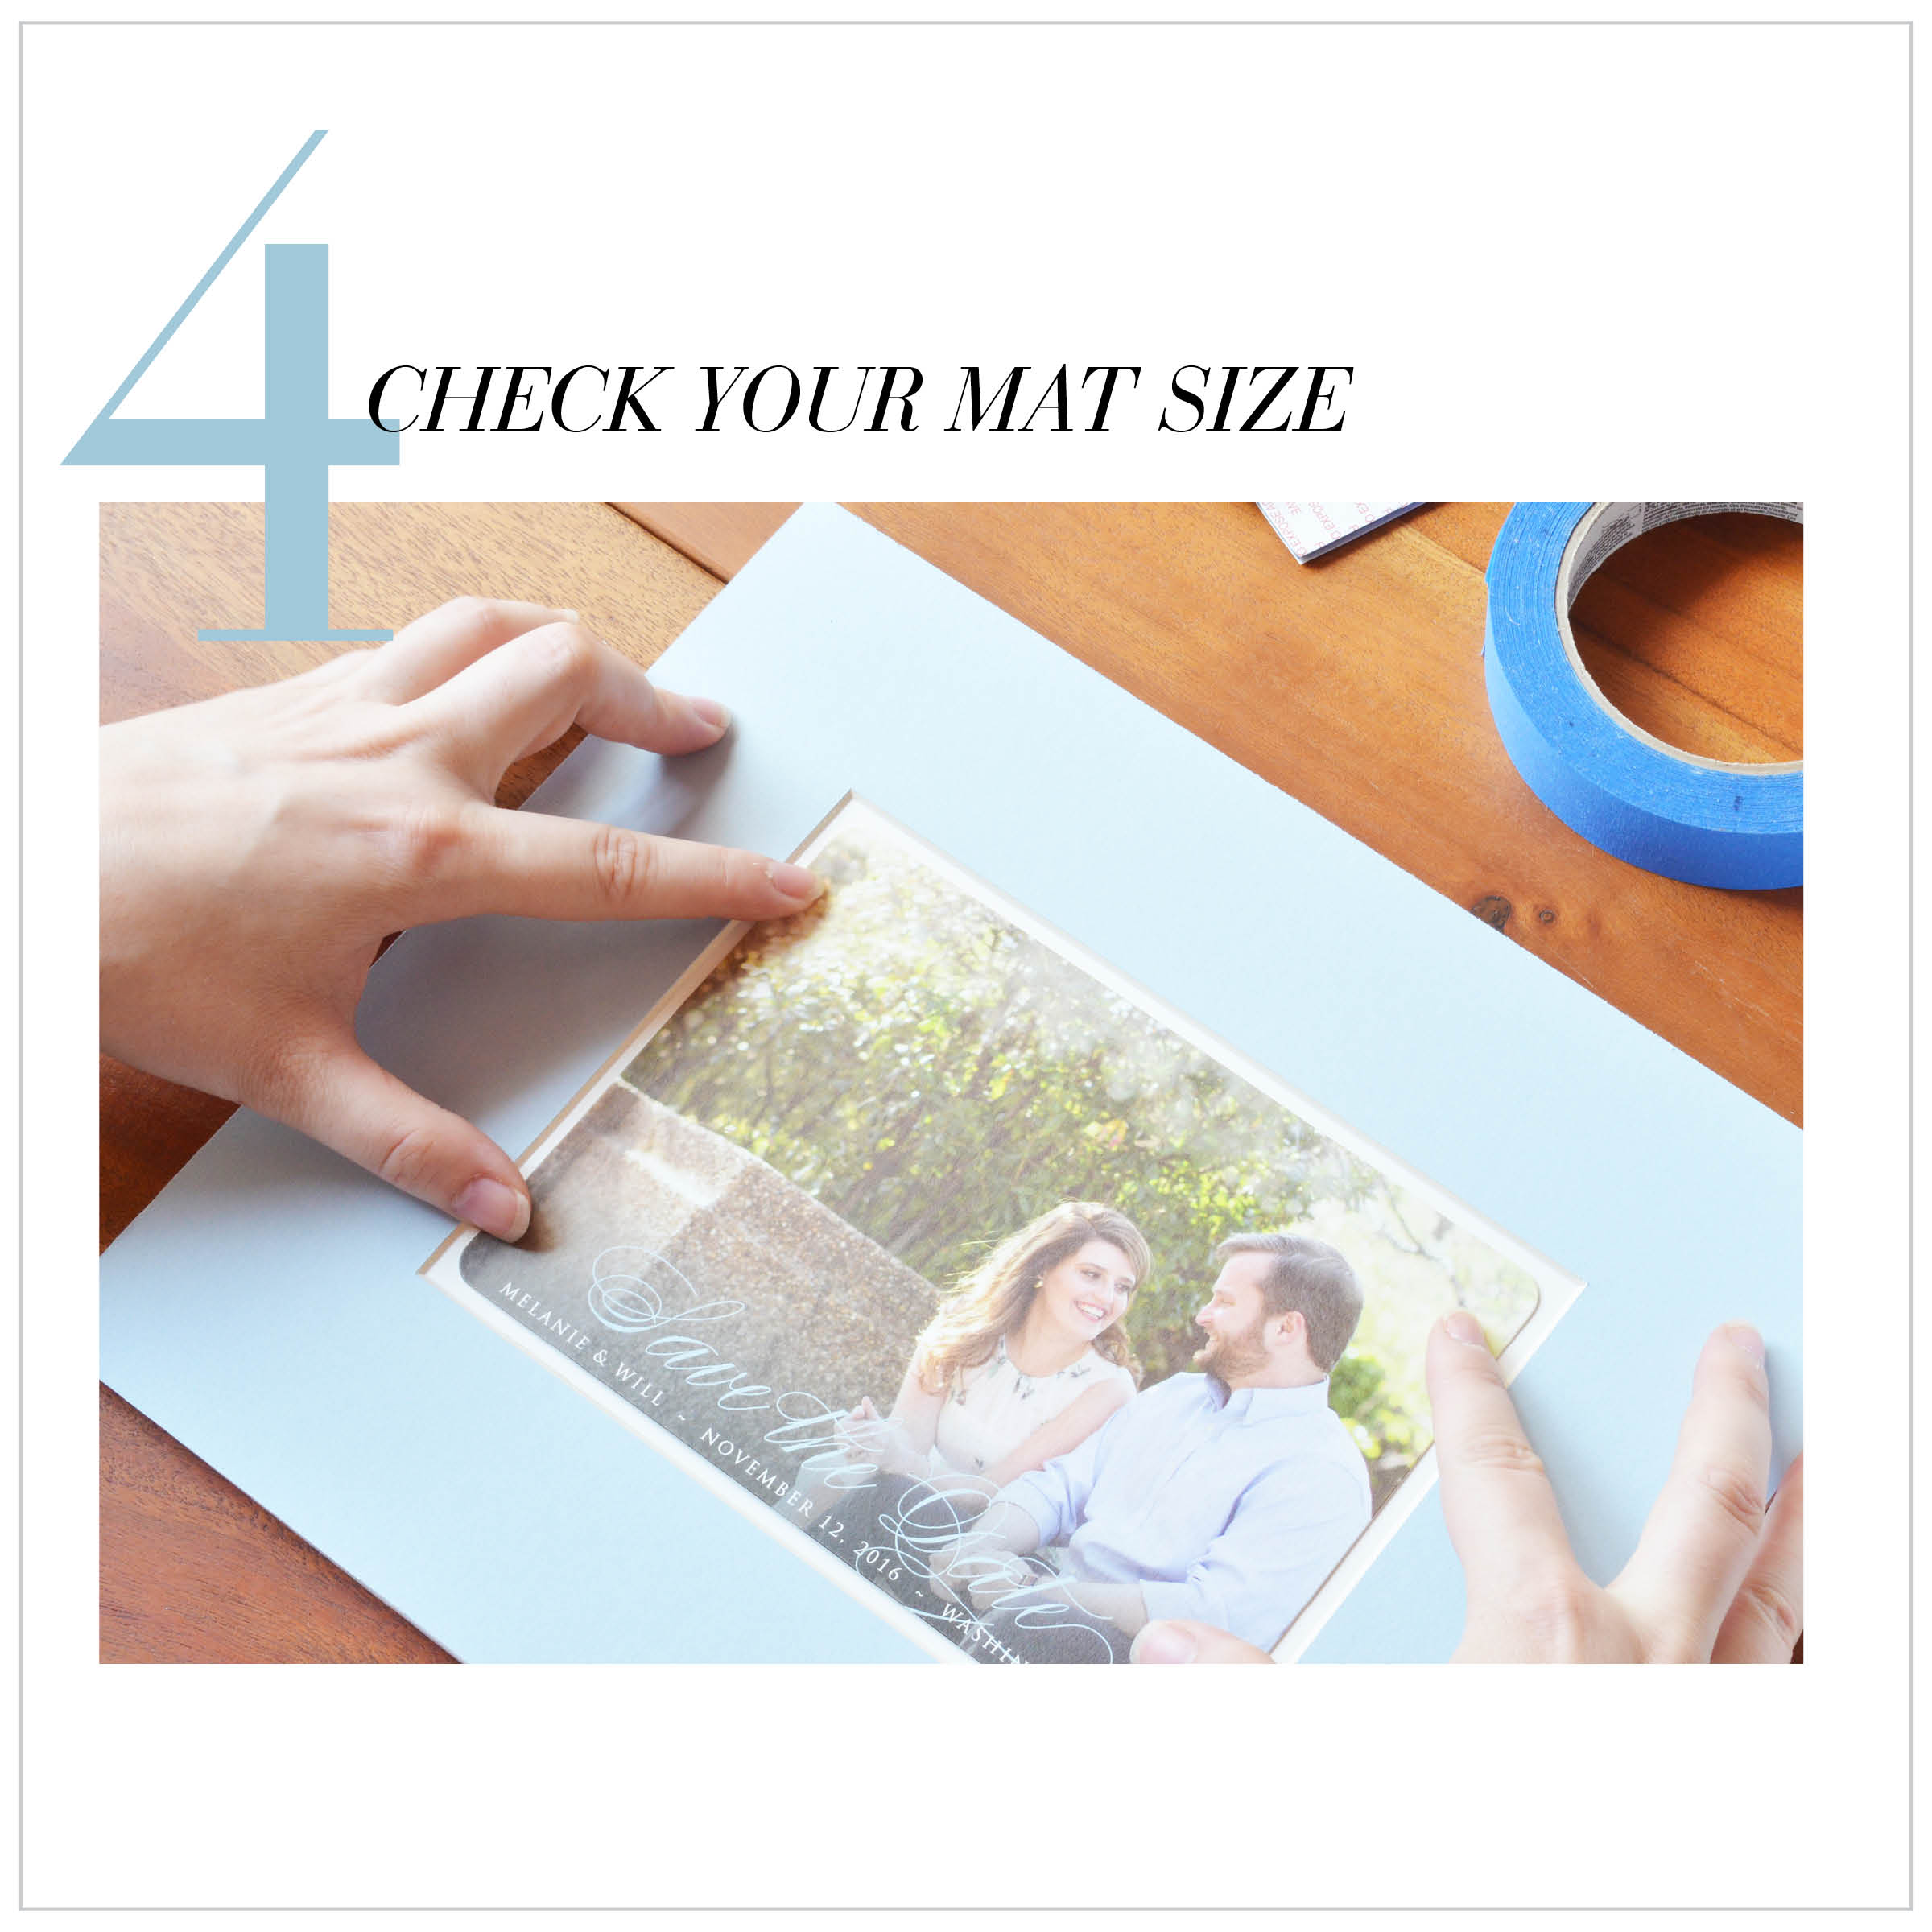
Make sure that the appropriate amount of space is given to the photo when you pull out the mat. Place the invite inside the mat to make sure that you're happy with the extra space around the edges.

To begin, it's smart to adhere the mat to the background to prevent shifting after the invite is mounted and placed back into the frame. Without this step, the invite can look crooked and won't appear in line with the matting.
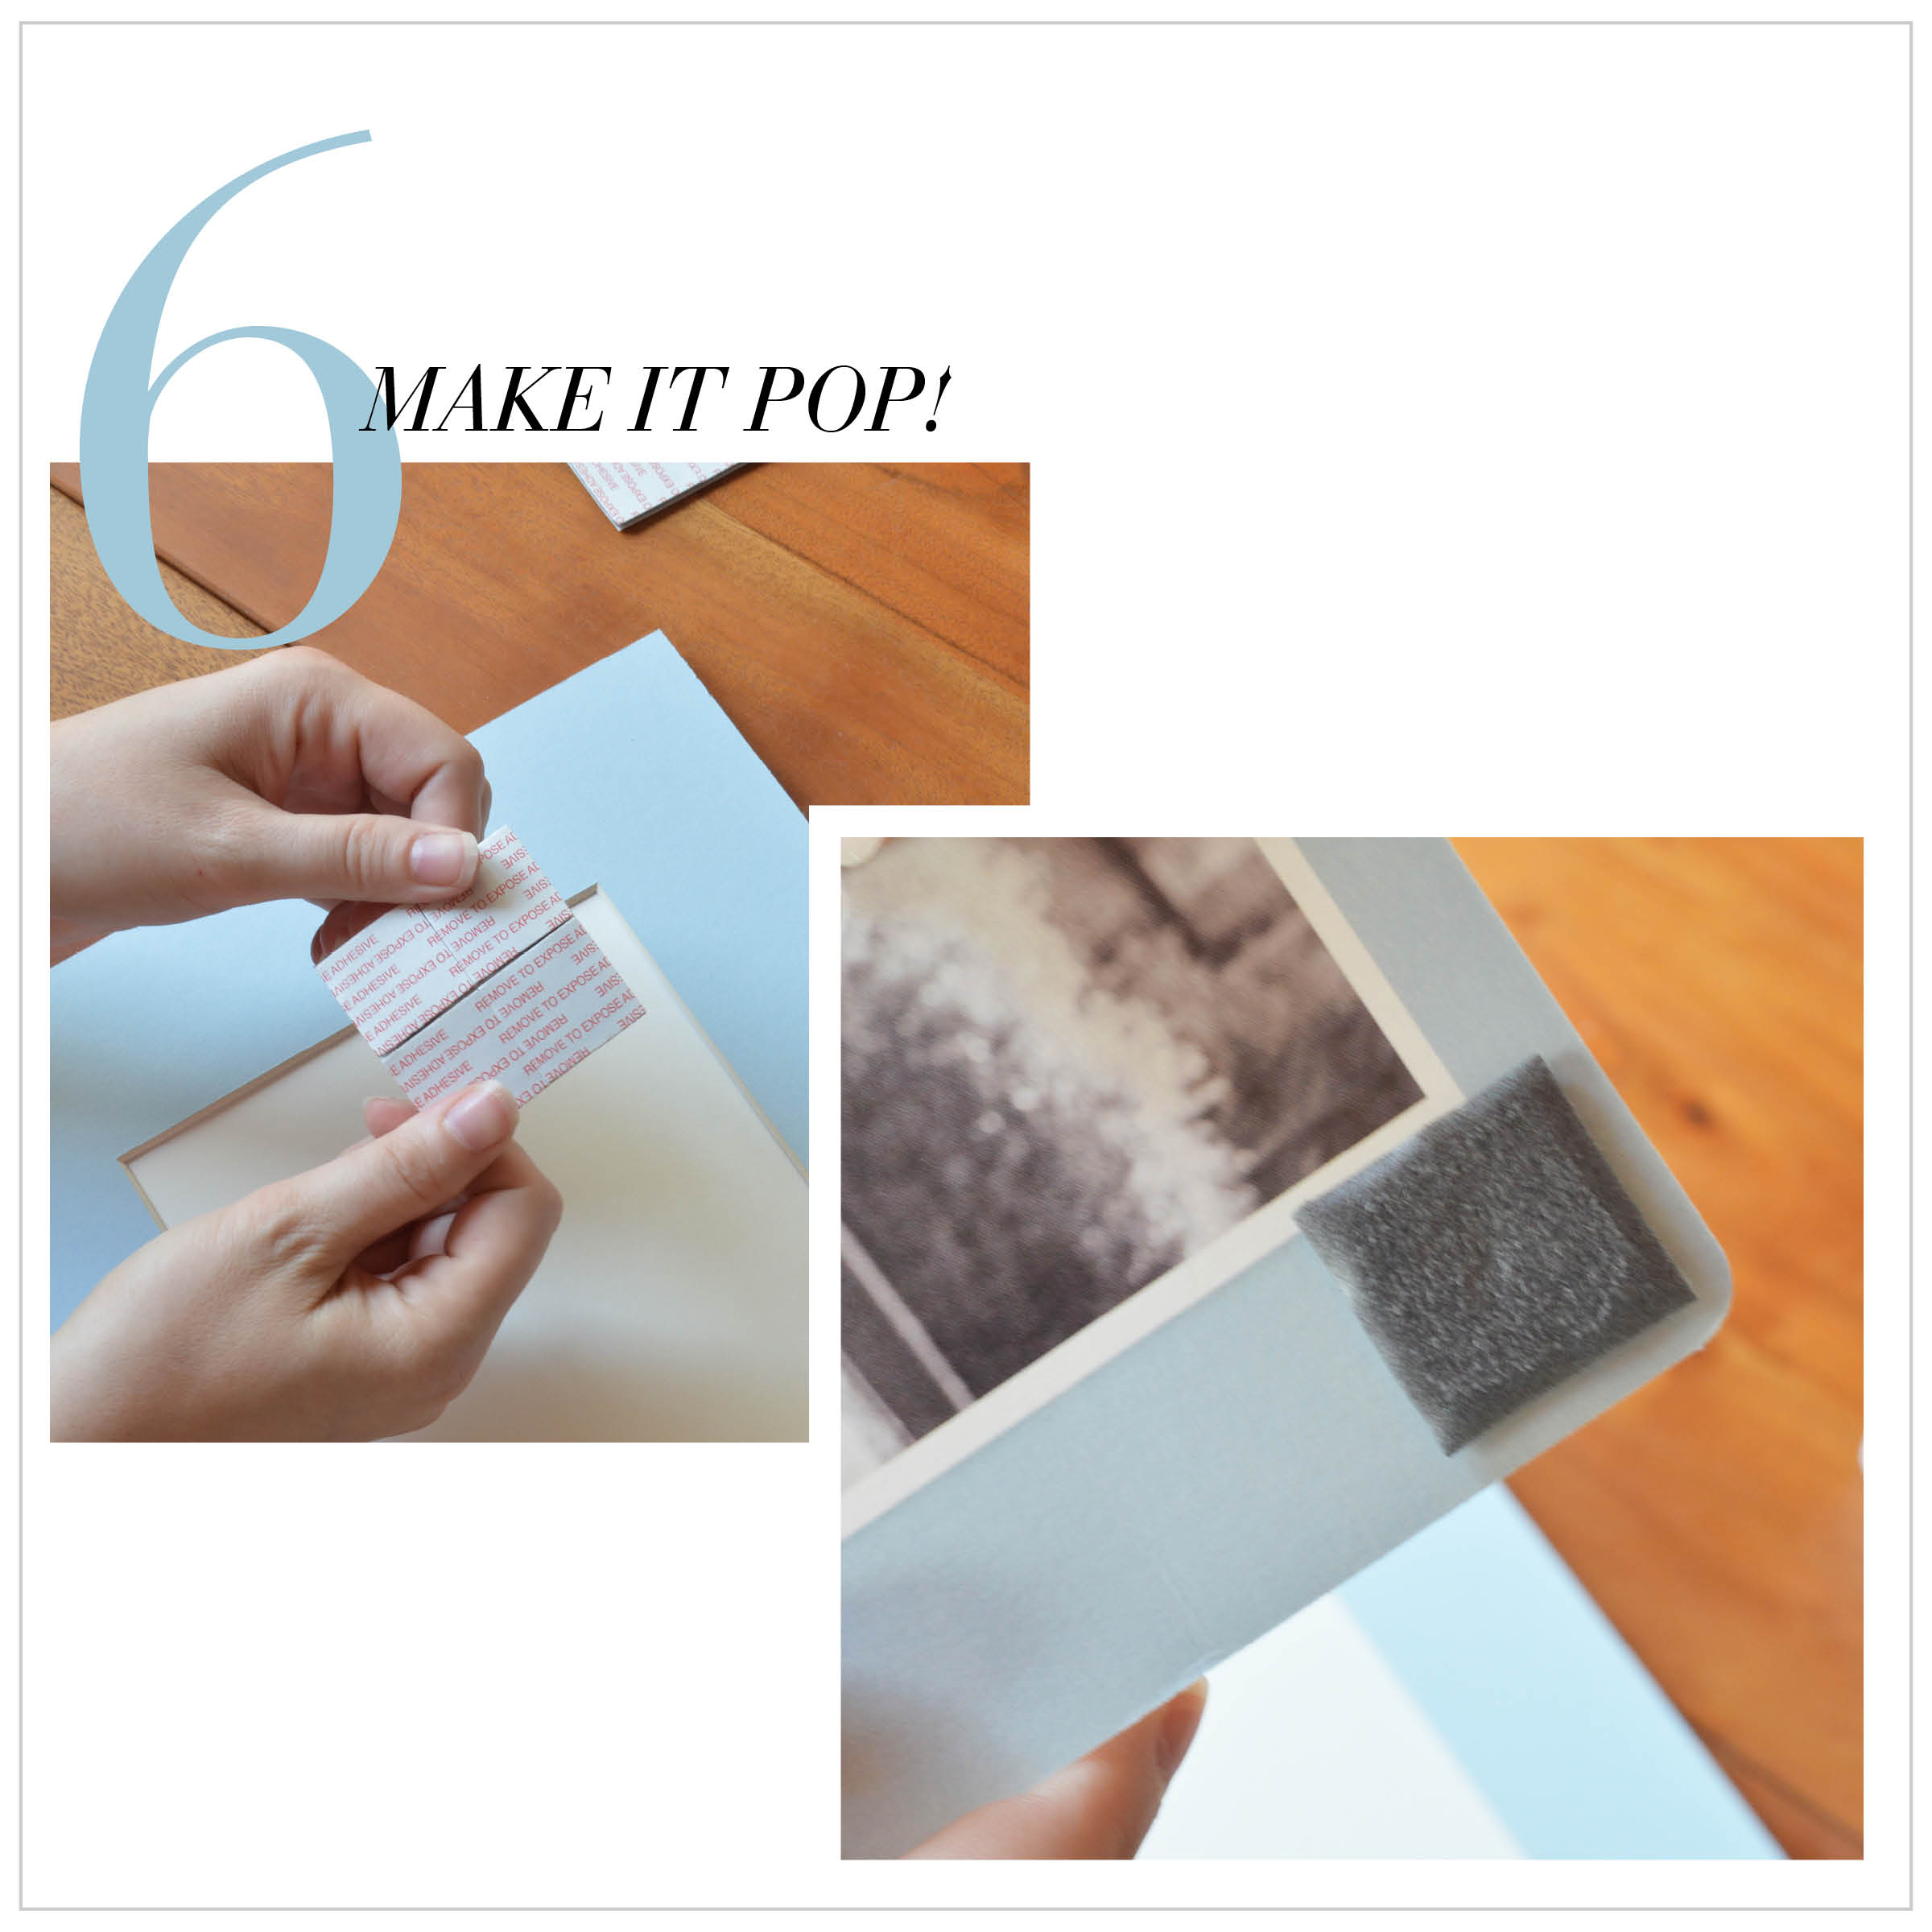
For this project, I wanted to adhere to the invite with mounting squares to give the image an extra pop off the background. Of course, the regular tape is perfectly ok to use for this kind of framing.
If you choose to use mounting squares, it's best to use a dot in each corner as well as one in the center (for larger projects, more dots should be used) to prevent the center of the photo from sinking back.
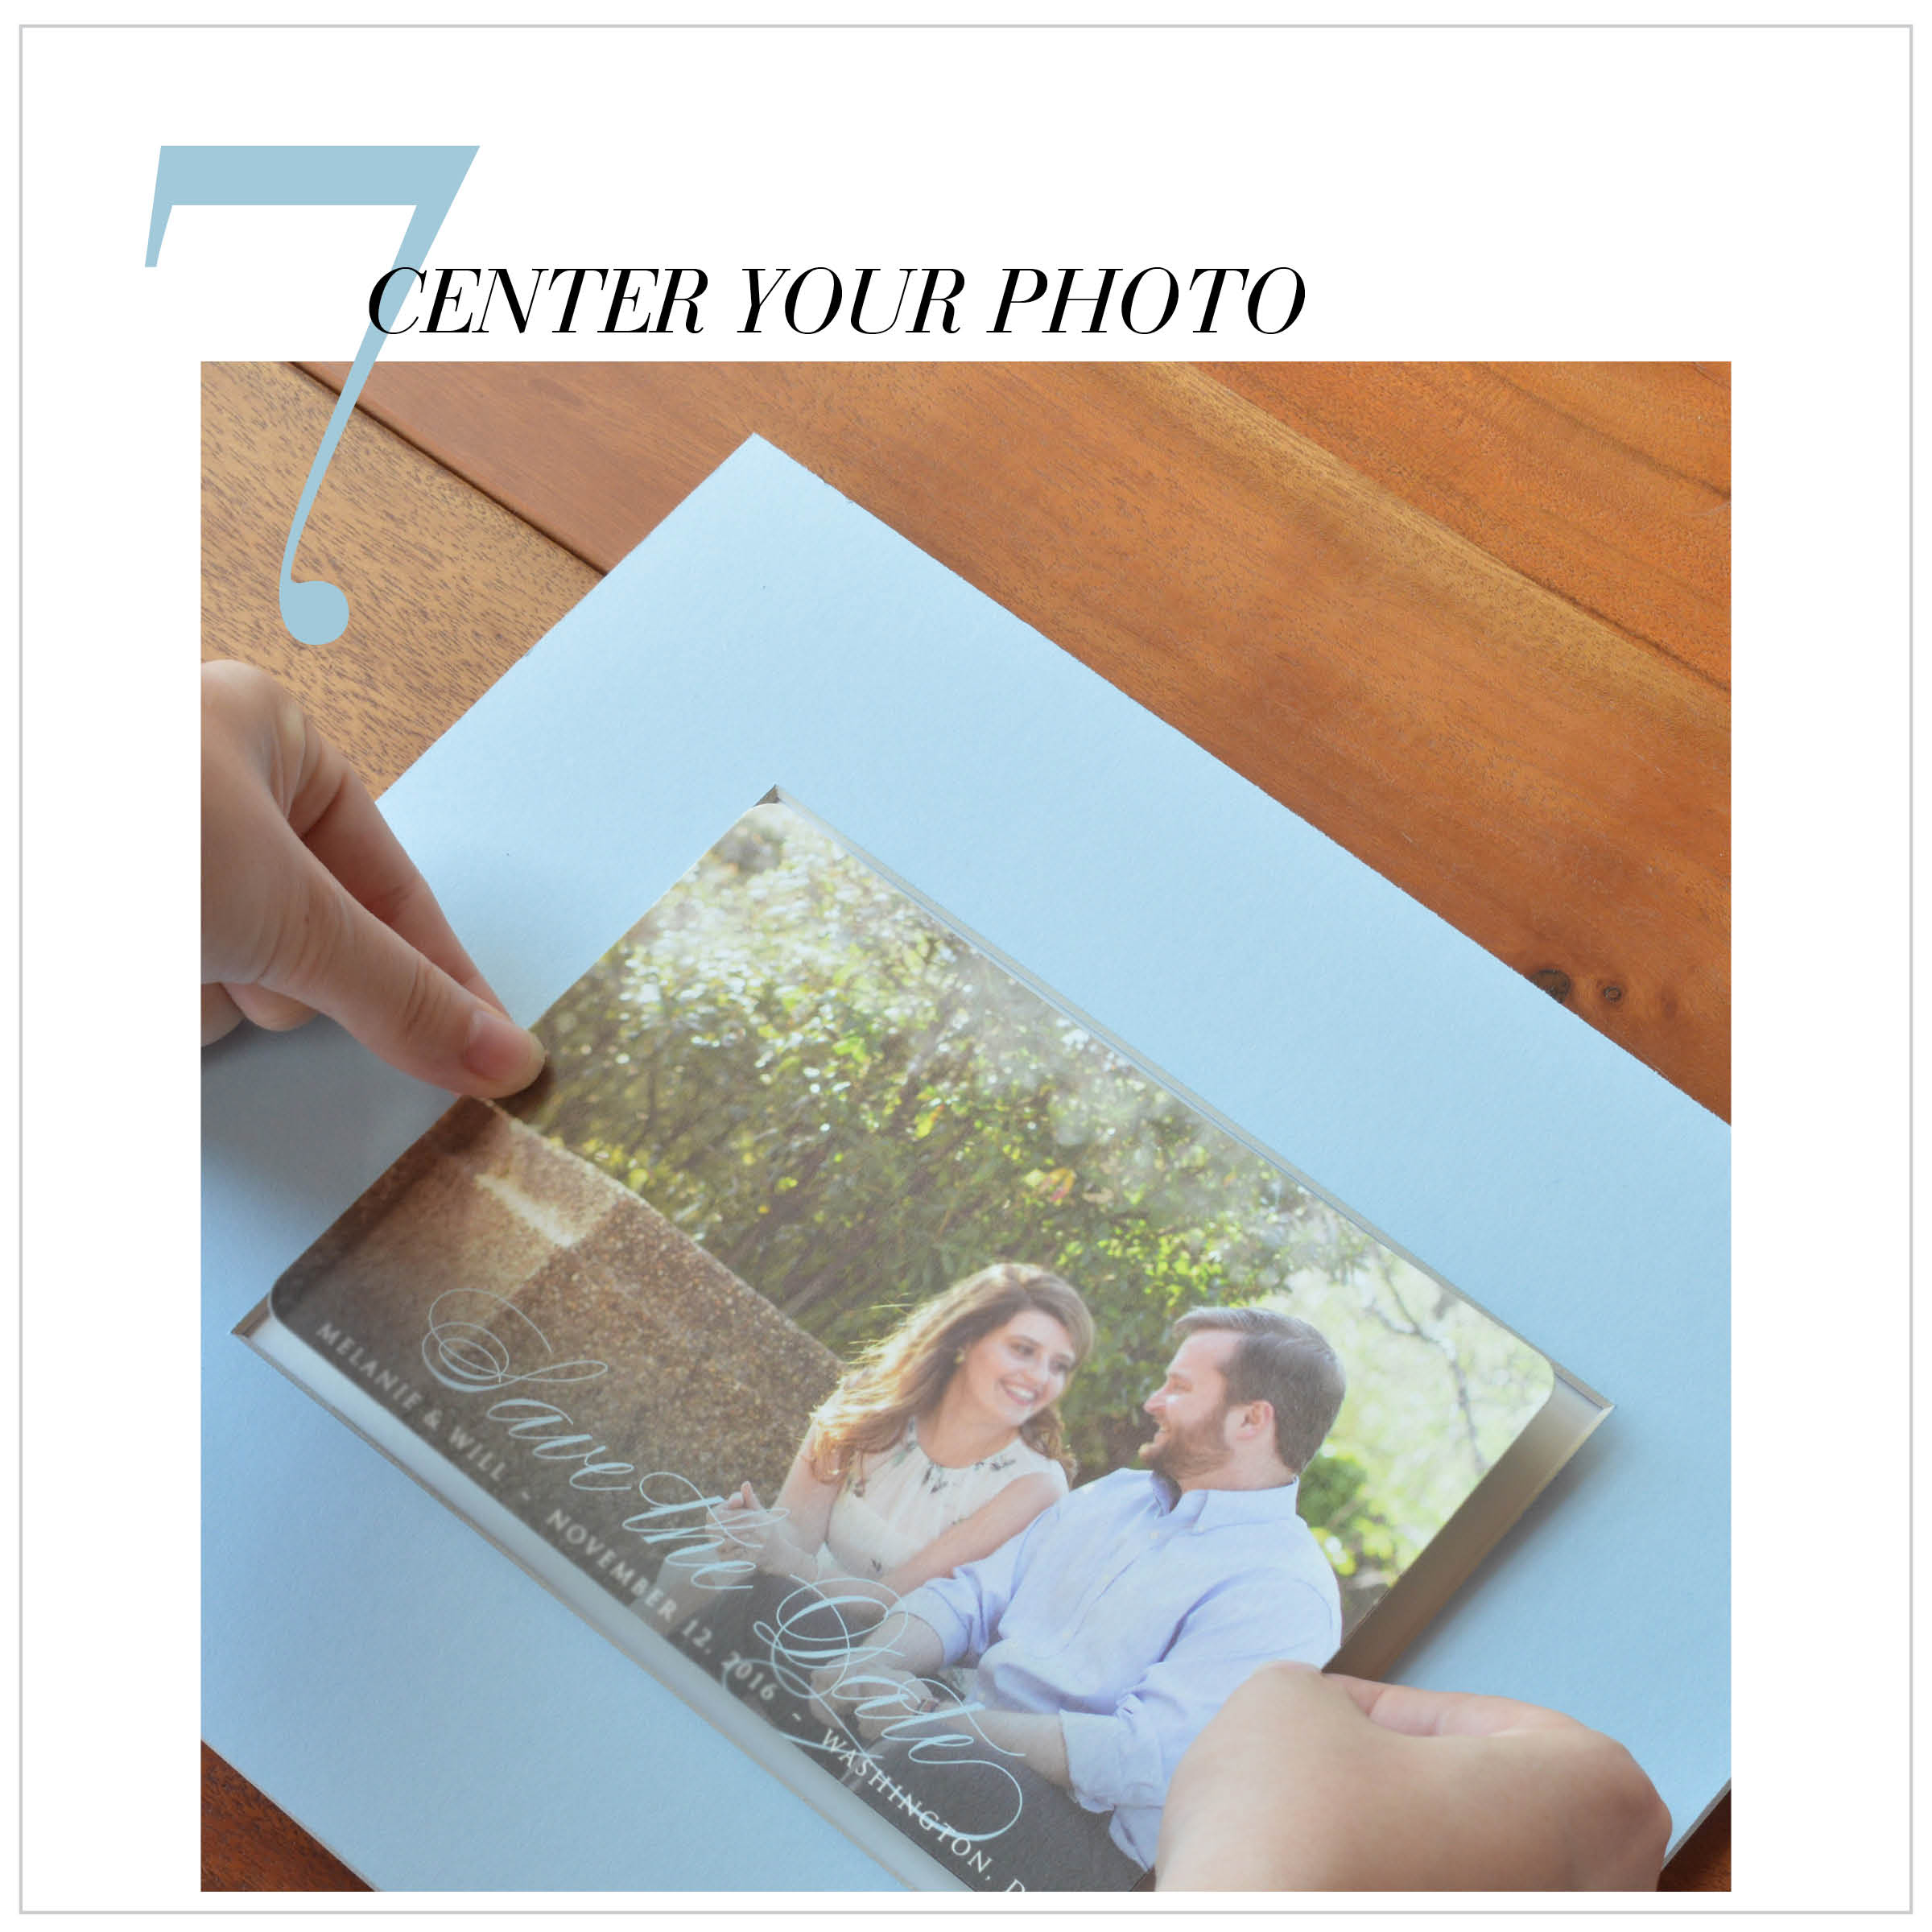
Once you've placed adhesive on the back, carefully center the invite in the mat and press it into place.
If you're happy with how the photo looks, it's time to put the frame back together!
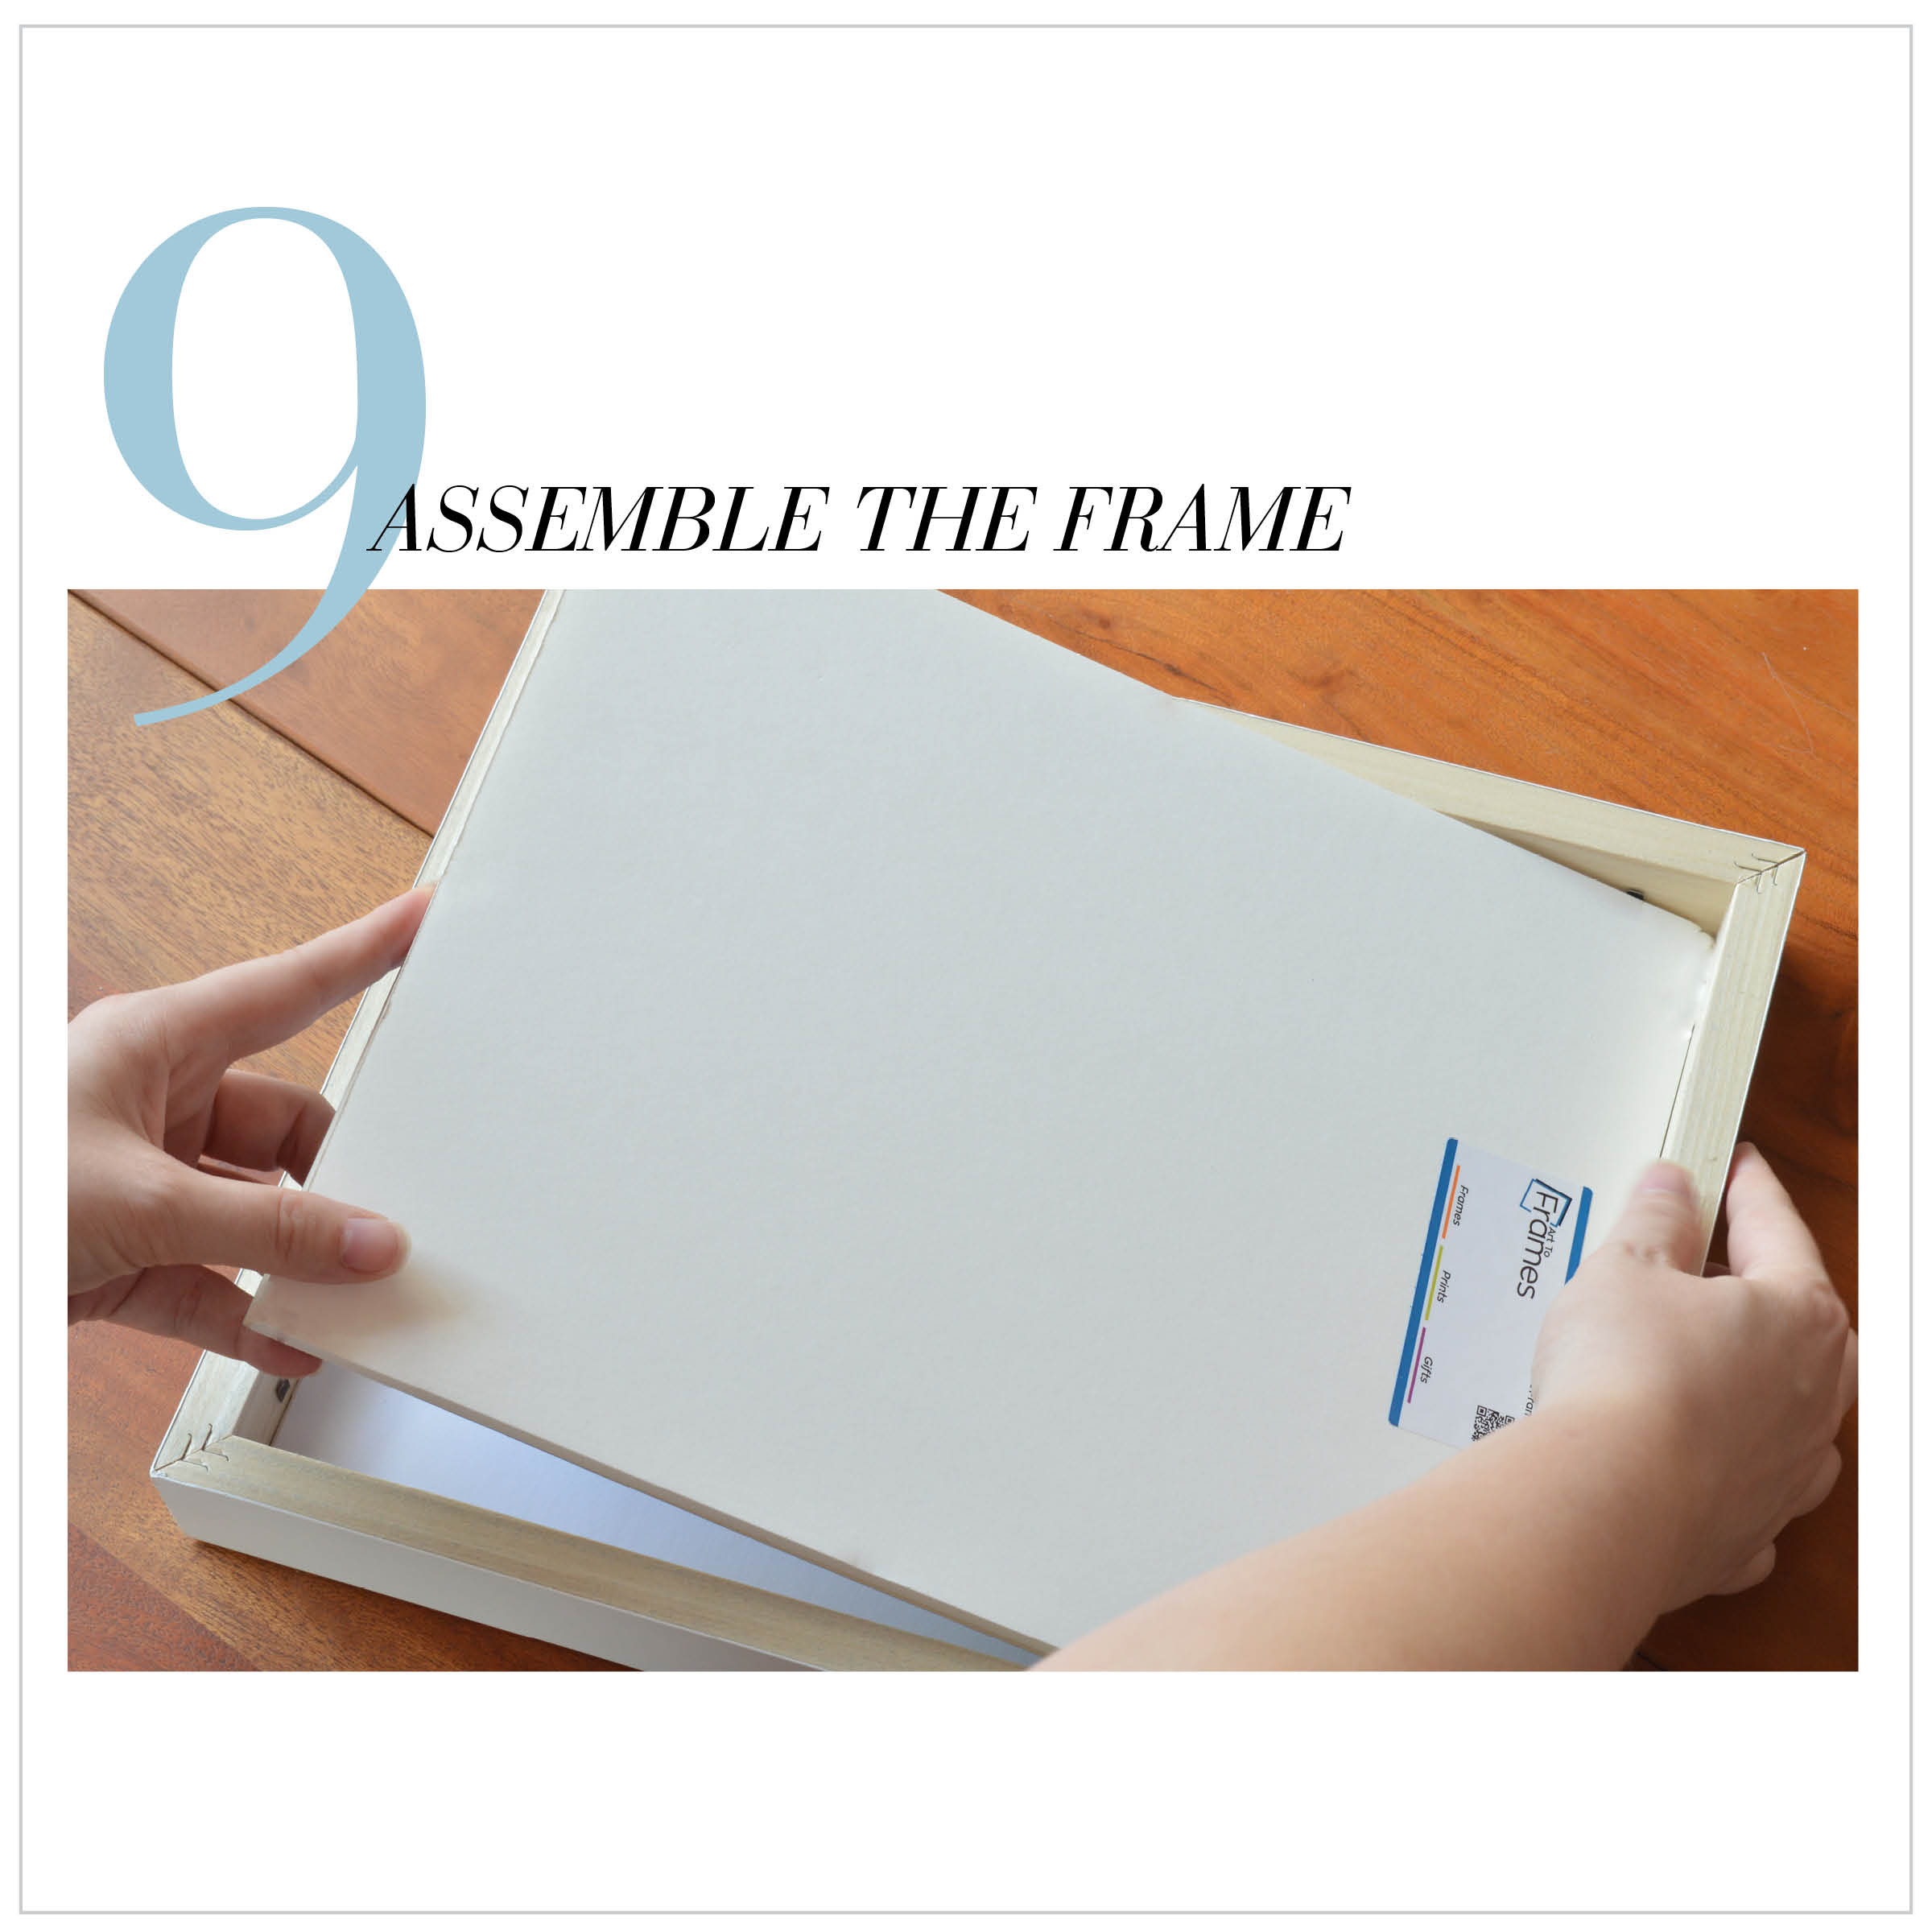
To start, make sure to clean the glass on the inside of the frame to keep any dust out that could dirty the mat and photo. Once the interior is wiped down, insert the invite, mat, and backing, and fold down the back tabs to hold everything in place.
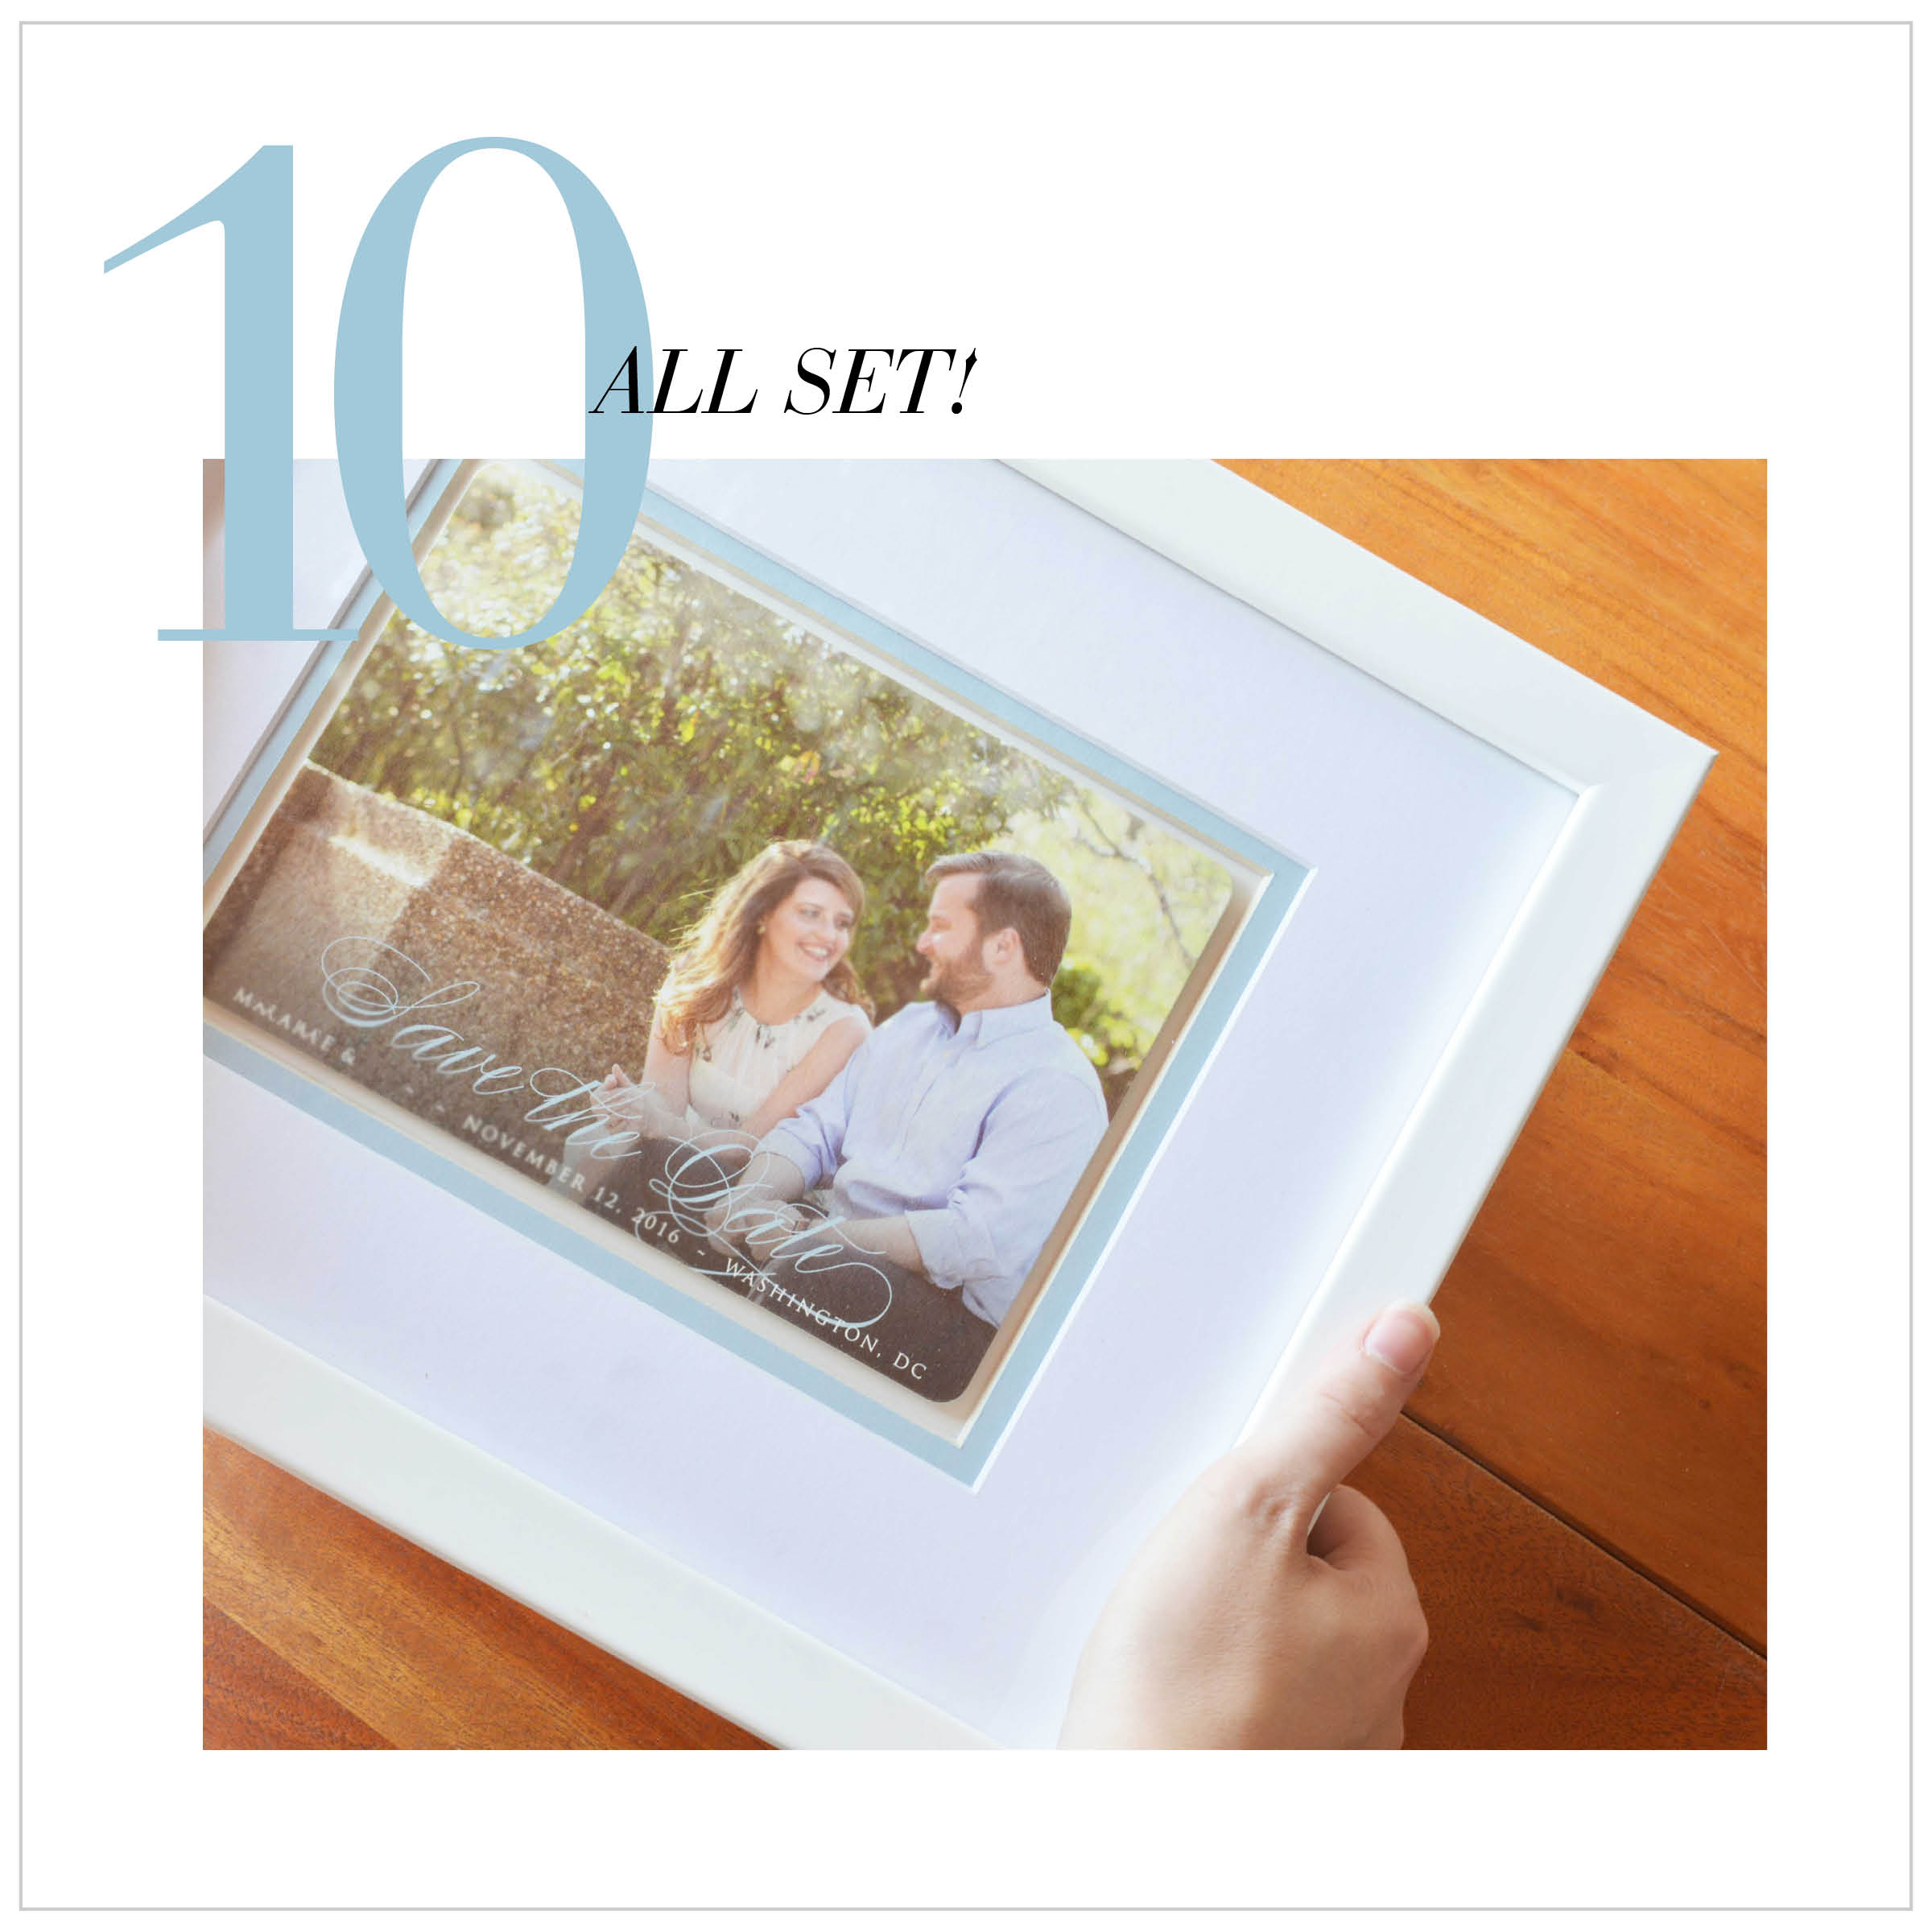
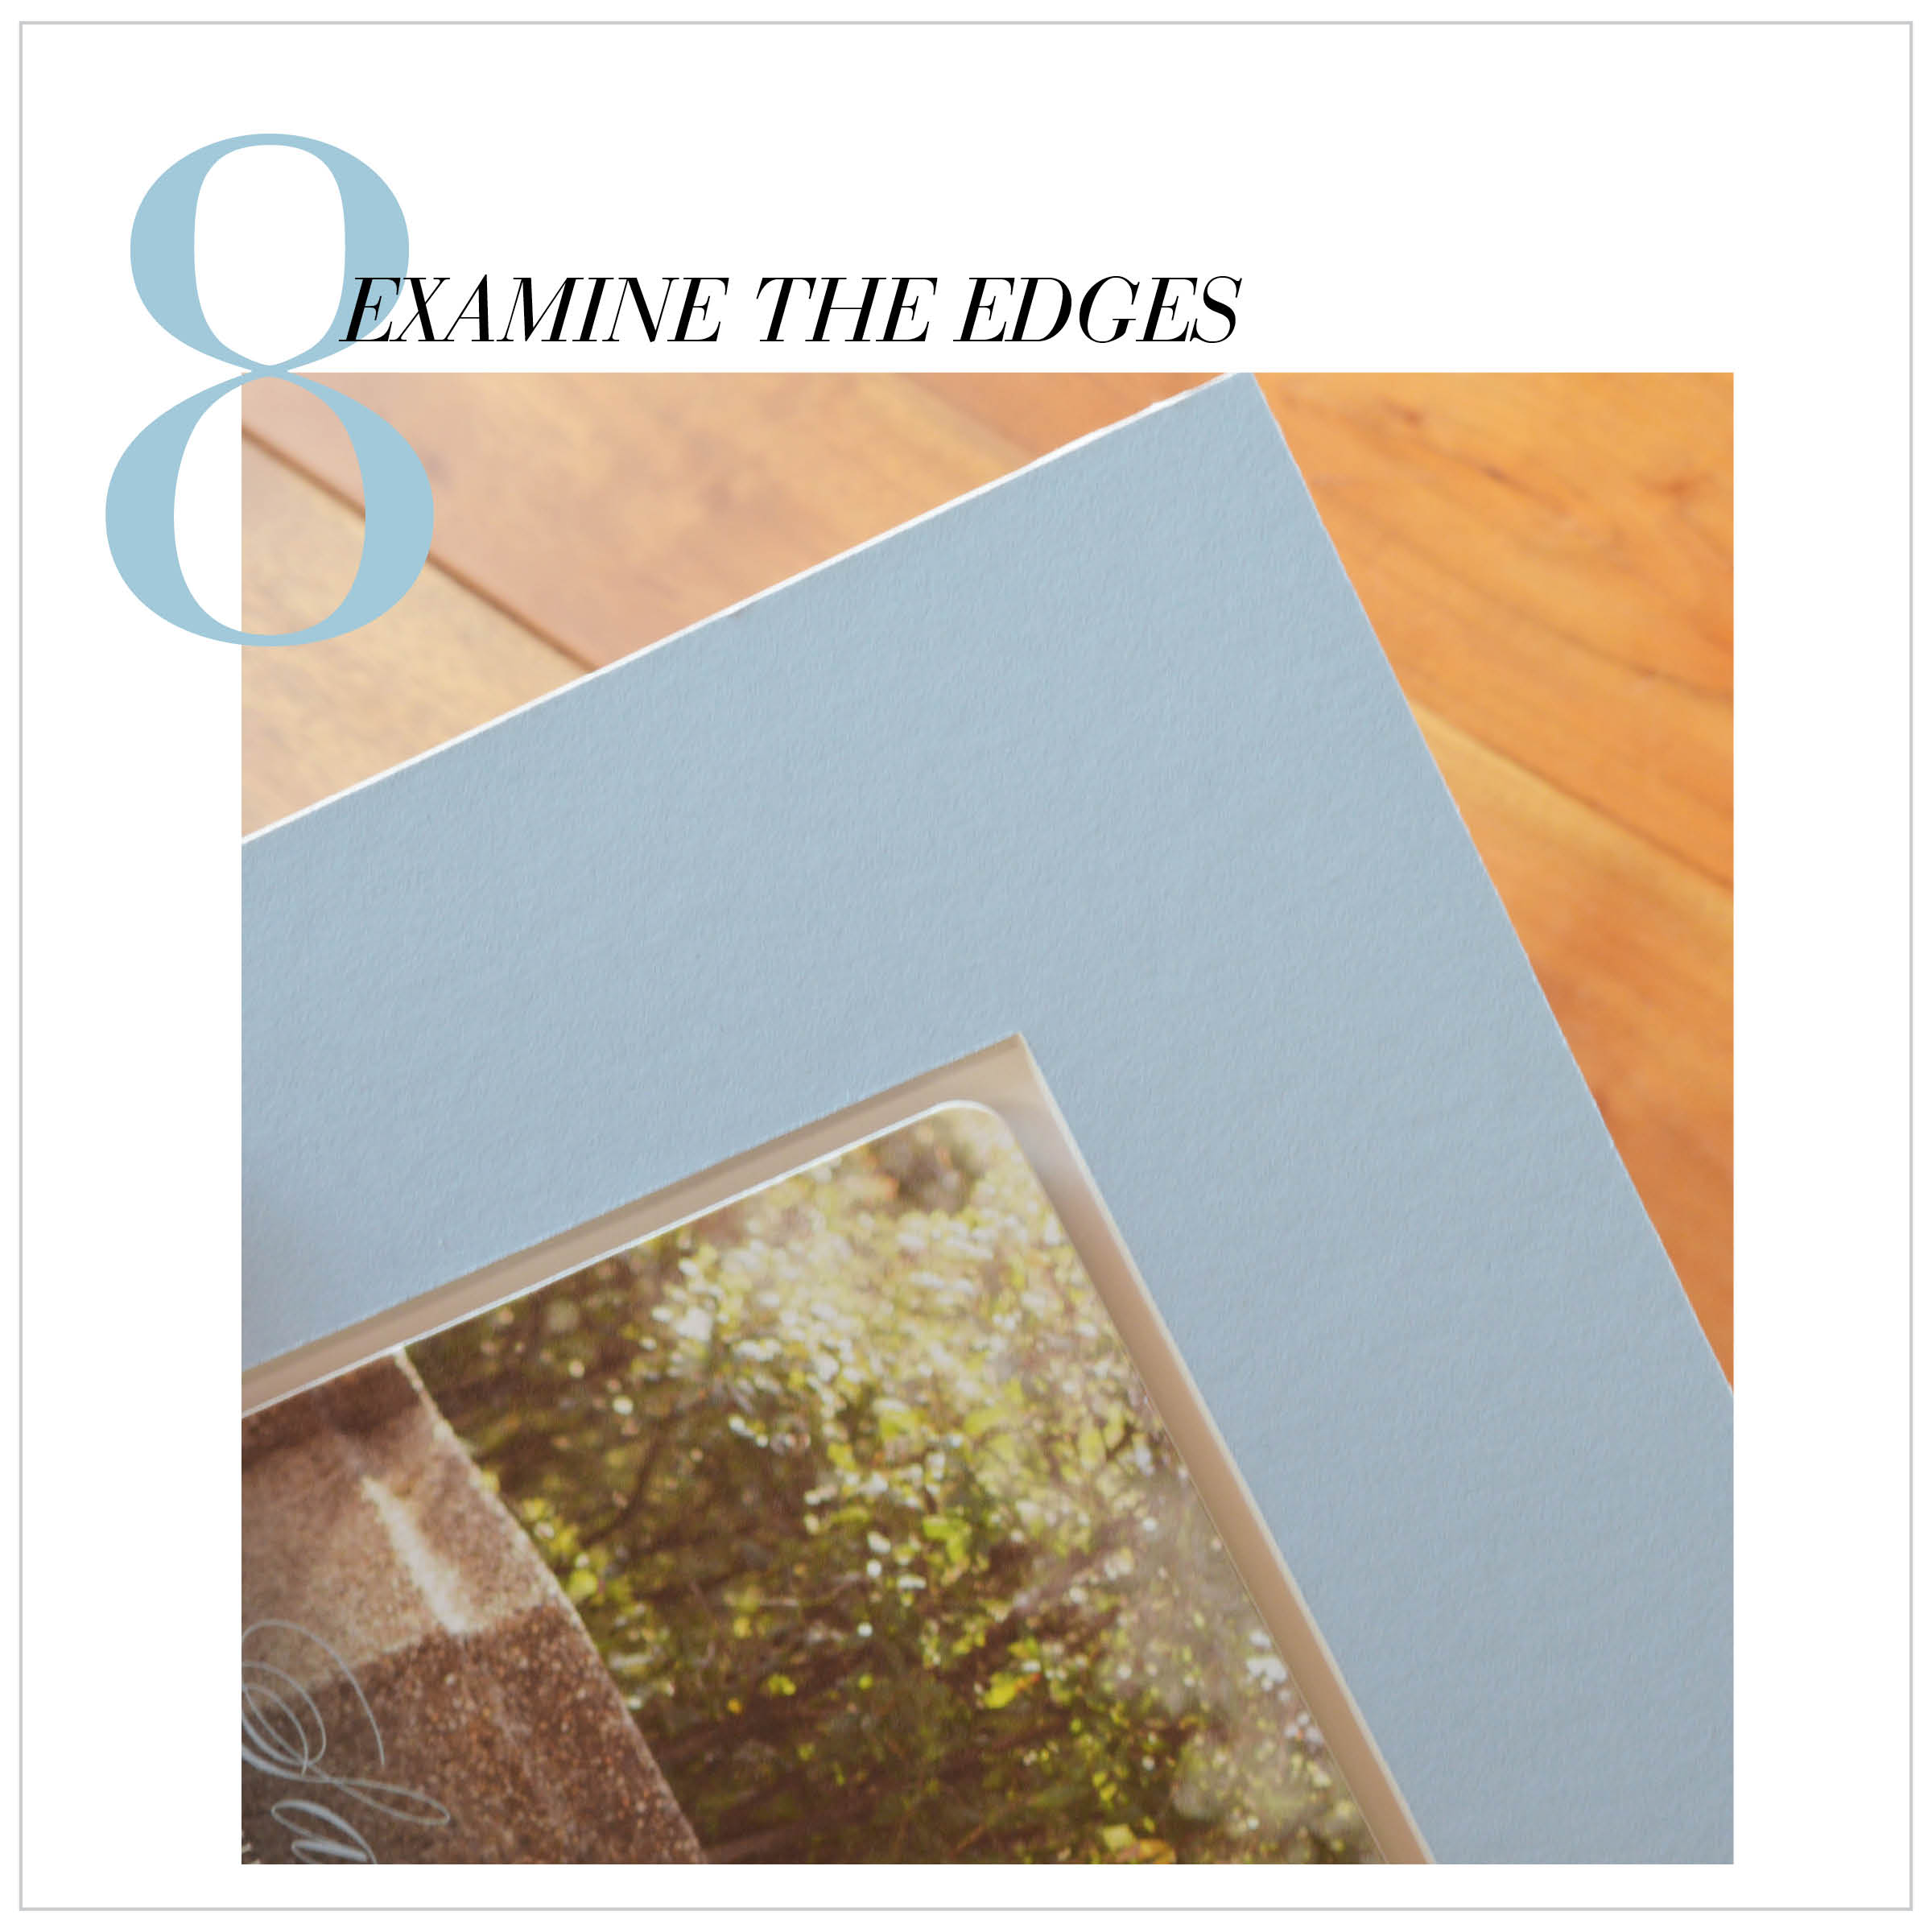
Ta-da! The borders are exposed and your invite is ready to send to the happy couple! Congrats on planning the gift that the newlyweds will surely consider their favorite - especially among the gifts mindlessly selected from the registry. This is something truly special the couple probably wouldn't consider doing for themselves.
Ready to get framing? Get that save-the-date off the fridge and head over to custom framing!
.jpg)
.jpg)
.jpg)