


How To: Make Your Photos Pop
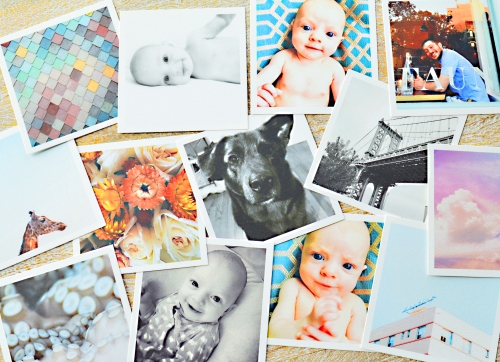
You know that box stuffed with photos, prints, postcards, and all of those sentimental pictures you would never part with? It's time to get them out of the dark and onto the wall. They've spent enough time collecting dust - it's time for them not just to shine, but to POP!
In today's post, we're taking you through step-by-step and showing you the easiest way to frame the prints you already have and taking it a step further by making them pop right off the background!
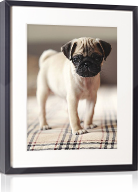
Ready to get started?! The first thing you'll need is to decide which of the amazing photos you want to frame!
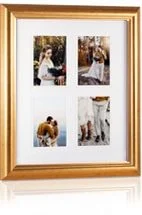
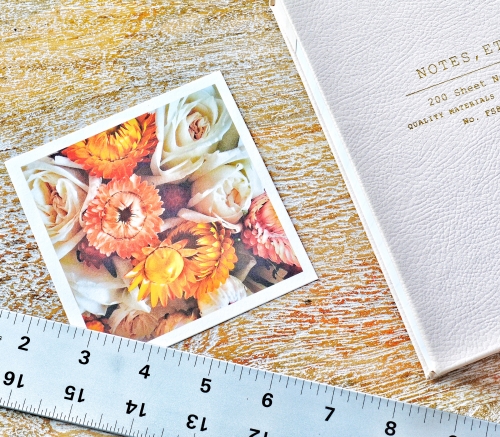
Once you've selected the perfect print, measure the outer edges so you can customize the frame to fit the print perfectly. Then head to the Custom Framing Shop to get started!
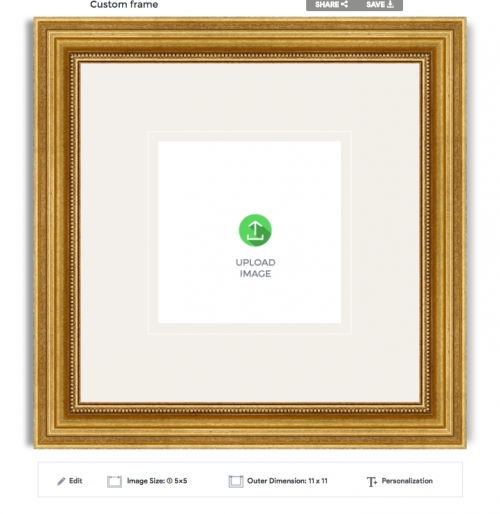
Make sure to add a little extra space so that the mat doesn't fit over the top of your photo. To make it pop, you'll want the mat to remain open enough that your entire photo is exposed. For this project, I added an extra half-inch to the width and height of the mat opening size. (Feel free to add more space if you want the photo to stand on its own in more open space).
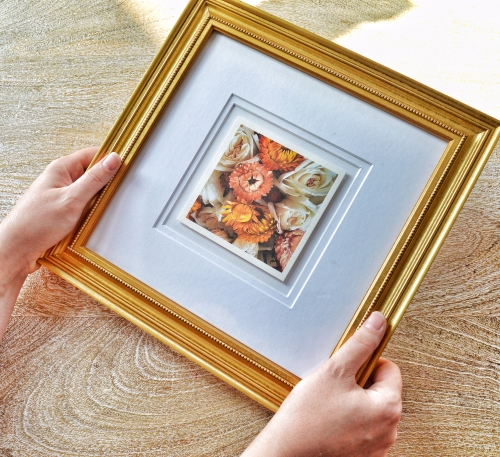
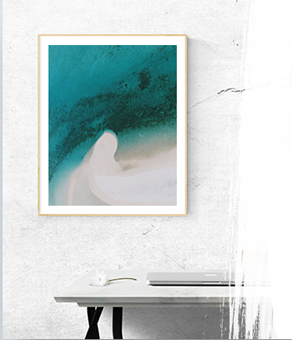
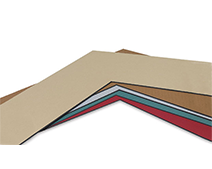
Since this post is about making your photos pop, I opted for a gold frame that will truly pop off the wall as well! (There are dozens of frames to choose from though, so the sky is the limit. Choose a frame that works for your specific photo)
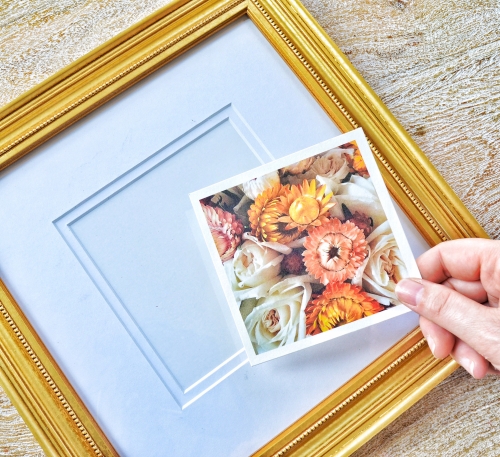
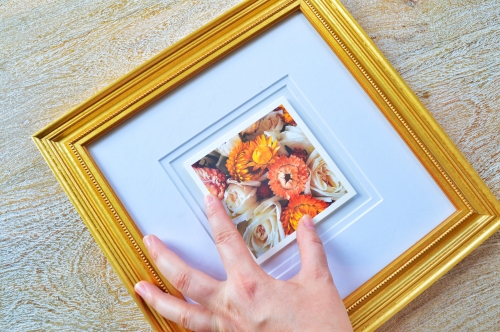
Once your frame arrives, make sure that the mat opening fits well outside of your print:
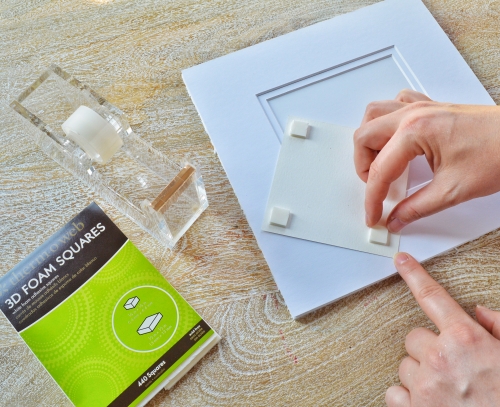
To make sure that your photo will remain perfectly centered, it's a good idea to adhere the mat to the frame backing. This simply makes sure that the matting won't shift when you're putting it all back together and ensures that your photo will remain perfectly centered inside the mat opening.

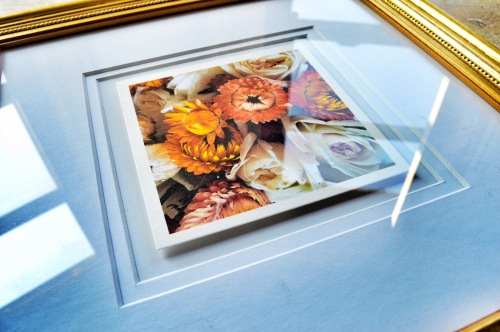
Once the mat is secured to the frame backing, it's time to make your print pop! For this project, I used 3D foam squares, one in each corner of the print to make sure all corners and sides popped off the background at the same distance.
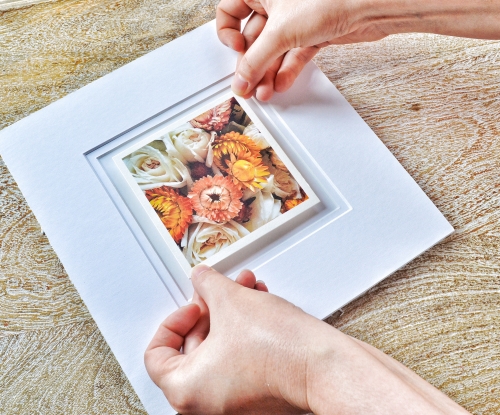
Carefully position your print in the center of the mat opening and press firmly to stick to the back.
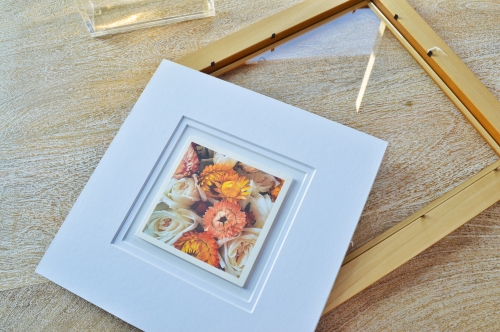
Once you're happy with how it looks, it's time to put the frame back together.
Ta-Da! A stunning photo that literally pops off the page! A simple and easy way to add a little extra something to your favorite photos!