


Save The Date DIY Framing
The best gift you can give a newlywed couple is one that is truly personal. A recently-wed friend of mine, after having received the items from her registry, told me that her favorite gift by far was one that wasn't listed on her registry at all: her wedding save-the-date perfectly matted and framed. It was a thoughtful gift and perhaps one she wouldn't have gotten for herself. It isn't something you'll see on a wedding registry, but it is surely a gift that any couple would appreciate and delight in seeing every day.
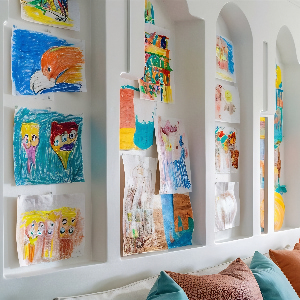
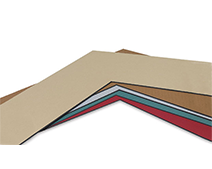
Custom framing used to be a difficult (and extremely expensive) process, but now it can all be done quickly, easily, and affordably online. There are several ways to frame a wedding invite or save the date, depending on style. Here, we frame several with beautiful backing paper for an extra pop of color. Before you start, be sure to pick out decorative paper that you feel complements the style of the invite or save the date. 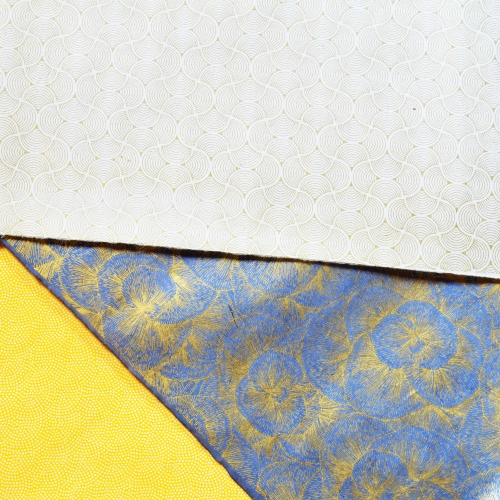
Now that you have the perfect paper background, let's get started!
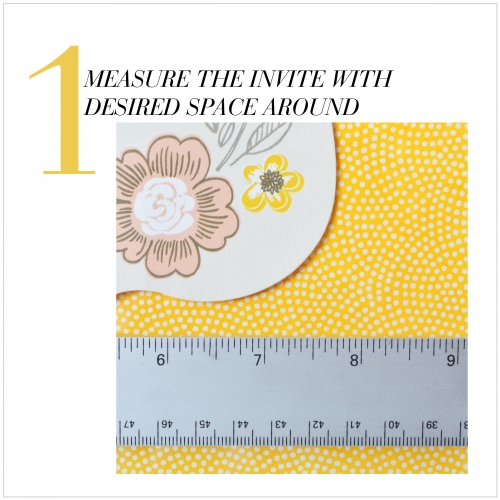
In order for the mat to arrive large enough, measure not just the invite, but the space that extends on both sides to your desired length. Do this for both the height and the width. These two measurements will go into the "Opening Size" section in the Custom Framing shop. (Link in step 2)
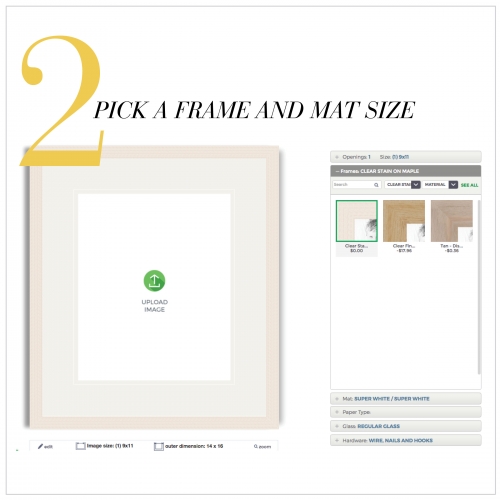
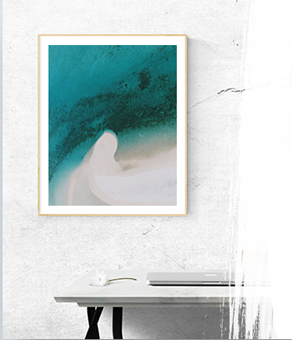
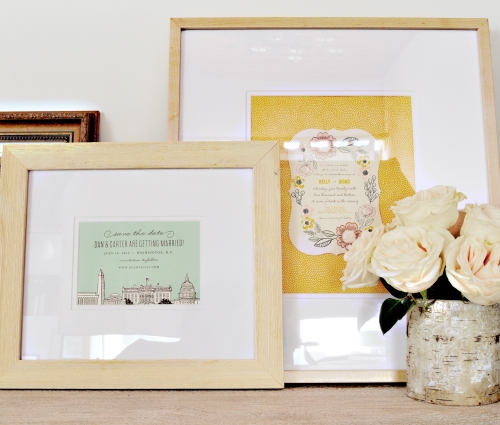
For this invite, I chose a Super White Double Mat with a Clear Stain on Maple Frame. A white mat with a neutral frame is a great choice to let the invite and colorful background paper pop. Want to recreate this look? You can find the maple frame below!
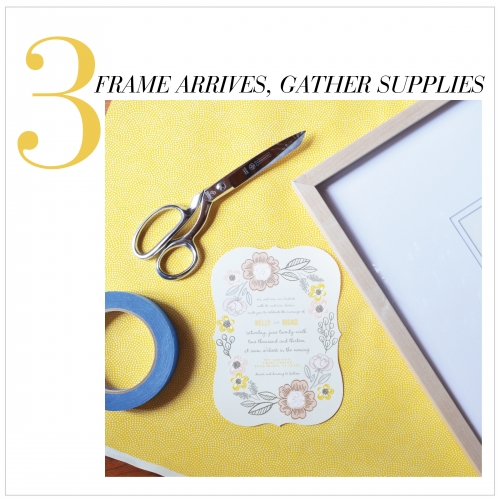
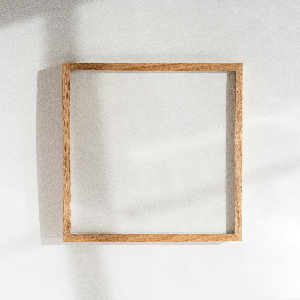
Once your frame arrives, it's time to gather everything you'll need to put it all together. Make sure you have your invite, backing paper, frame, scissors, and adhesive (I'm using painter's tape which is easy to remove without damaging the paper should I choose to remove the invite down the road).
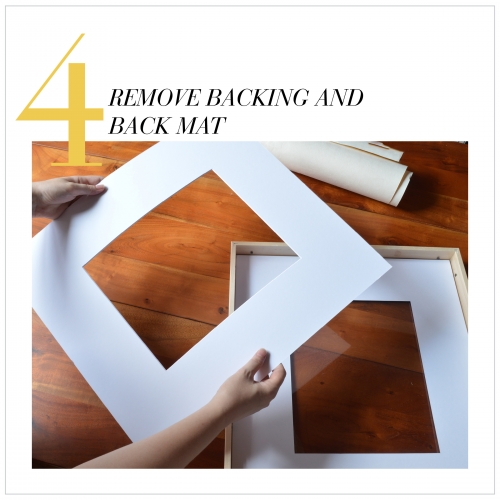 Carefully remove the backing and the back mat (leave the front mat in the frame - the back mat only will be set against the backing paper)
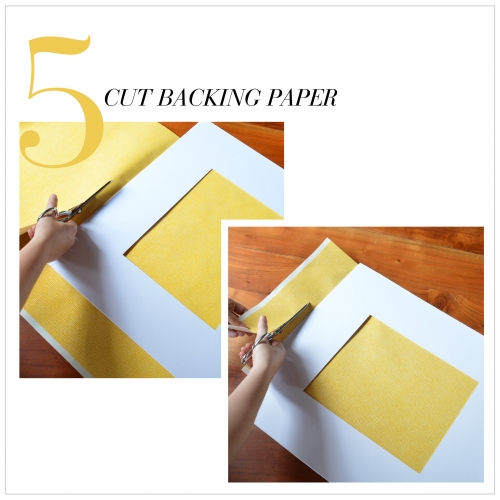
Lay the back mat on the corner of your paper and cut along the edge. Trim the length and width so that the paper expands past the mat opening on all sides, but doesn't hang over the edges.
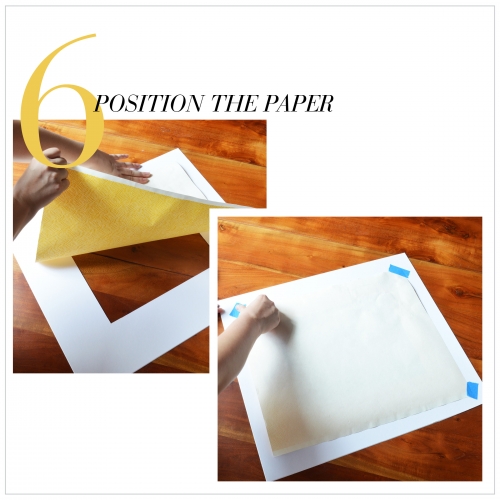
Lay the back mat face down and center the paper (also face down) over the opening. Tape along all corners and at the center of each side.

Flip the mat over and center your save-the-date in the mat opening. Hold the bottom down and place tape on the back of the top of the invite. Once you place the top, place another piece of tape to secure the bottom as well.
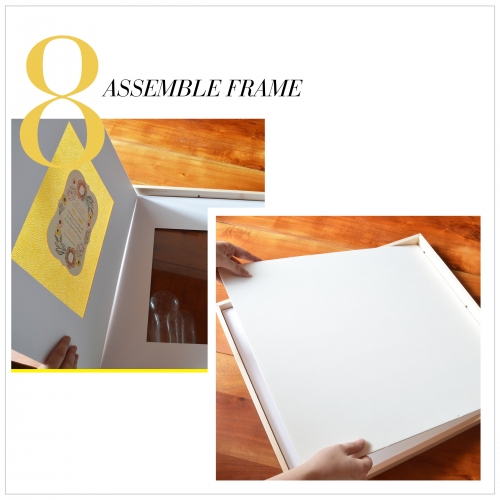
Add the back mat to the frame and secure the frame backing.
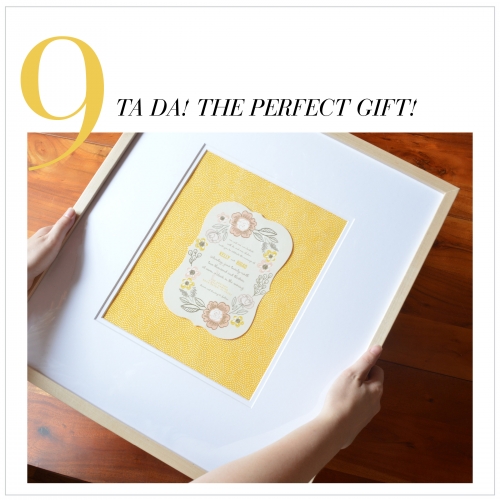
You're all set! The perfect gift for your recently-wed friend or family member! A personal gift they will cherish forever!

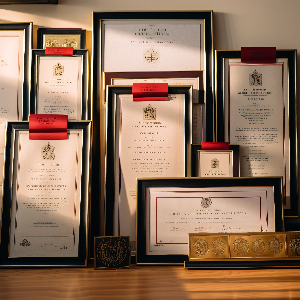
You can also mat and frame other items from the big day including the program, menu, and more! Another gift that the newlyweds would probably never consider doing for themselves!